Using Glyphs
You can use glyphs to mark the location and appearance of various findings. Glyphs are stored with the visit note and backfill the description of the glyph into the proper section of your visit note.
To avoid interrupting your exam workflow, it is best to use glyphs either at the beginning of documenting the exam or at the end of documenting the exam.
- Access the Ocular Exam Room.
- Select a diagnosis.
-
In the Glyphs section, select the type of drawing you want to apply a glyph to.
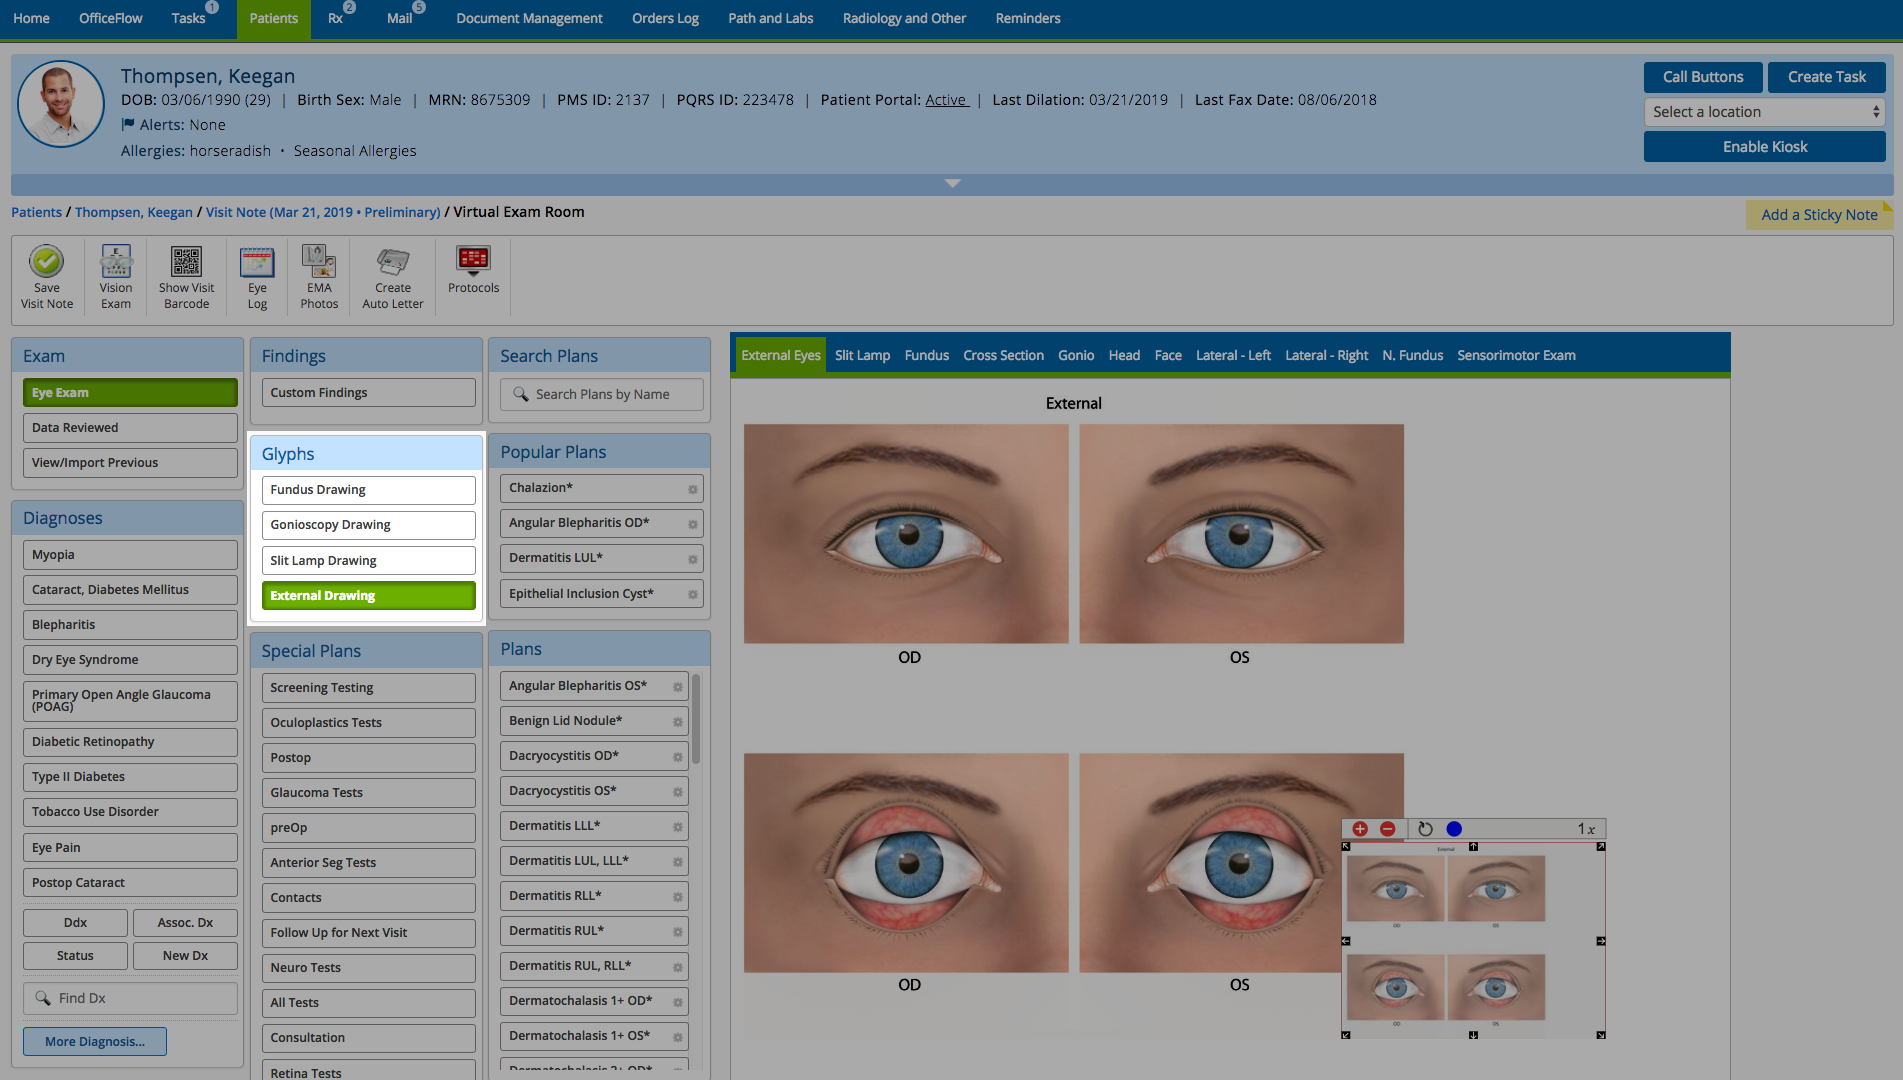
- From the Plans tab, select the Plan that you want to use.
- On the eye images, click the exact location where the disease is present.
- Use the sliders to scale and rotate the location of the condition.
If you make a mistake, tap the blue circle in the bottom right side of the diagram screen to undo your last change.
- Click Done with this Diagnosis and Plan: Save Changes and Update Preview of Note.
The visit note is updated with the description and location of the glyph. The Note Output will include the glyph.