Recording the Plans in the iPad App
Based on the diagnosis you selected, the Plans drawer shows a list of plans related to the diagnosis. You can select one or more plans from the list.
You cannot select a Plan unless an Impression is first selected.
- In the Ocular Exam Room, tap Plans to open the Plans drawer.
On the Plans drawer, Popular Plans displays your most commonly used plans for the diagnosis. (Popular Plans is empty until Encompass learns what plans you prefer for an impression.)
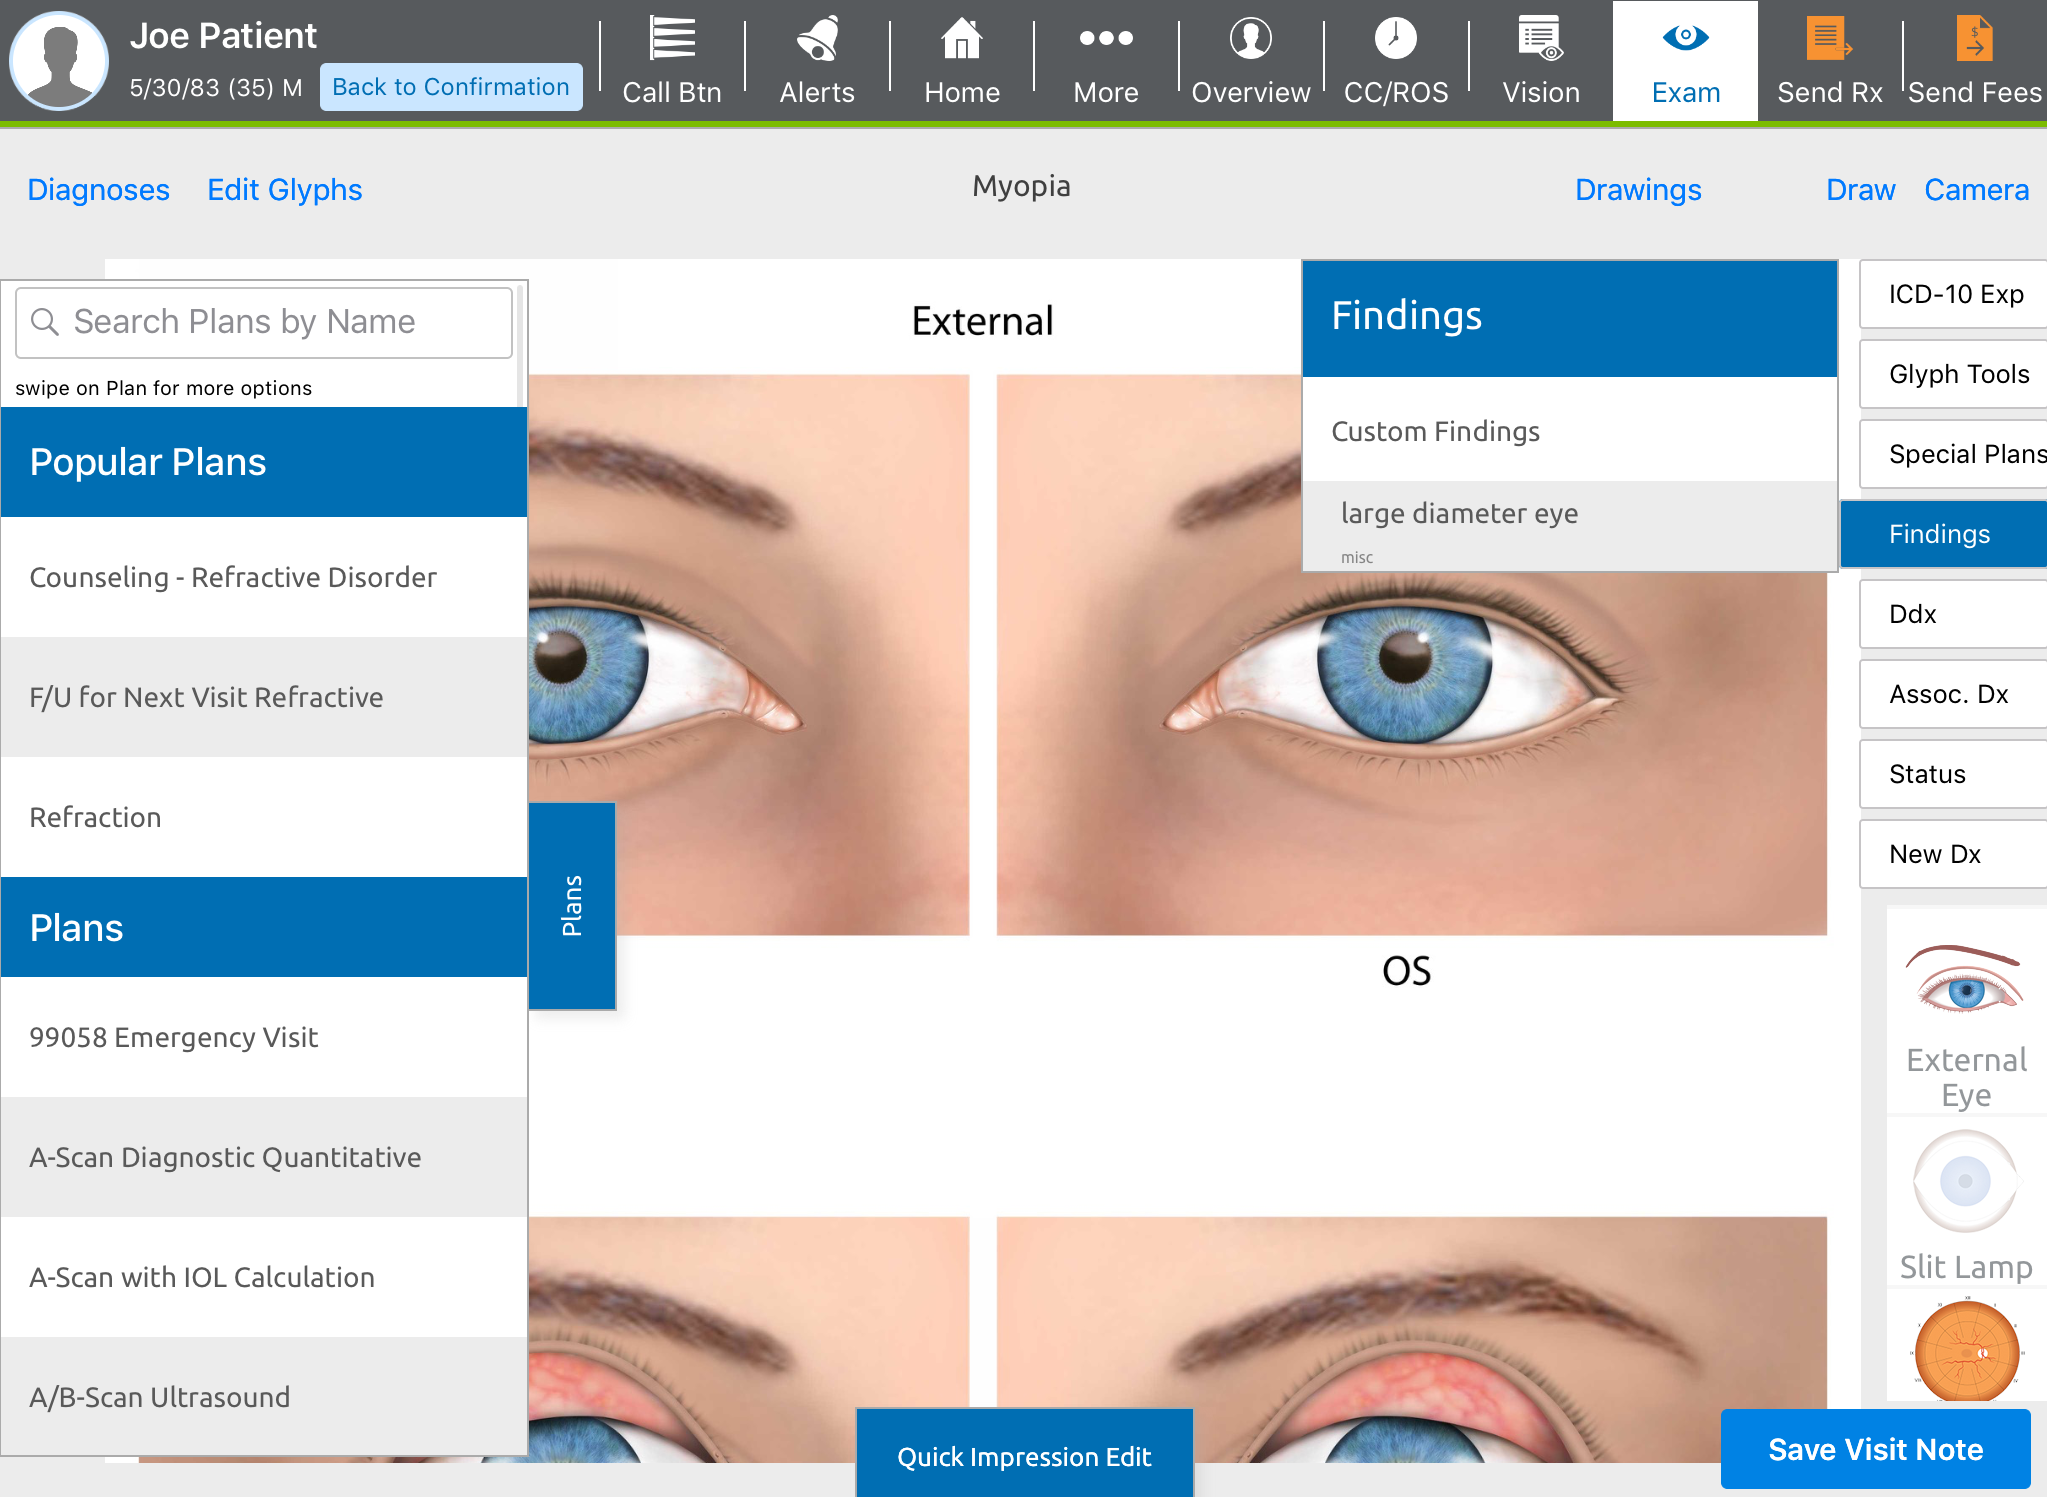
- Select from the Popular Plans or scroll through the list and select another plan.
To search for a plan by name, enter the first few letters of the plan name in the Search box. Encompass only searches the plans associated with the diagnosis.
If you don’t use some plans, you can hide them in the Plans list. Swipe left on the plan you want to hide. Choose if you want to Hide Everywhere to hide the plan for all impressions or Hide to hide the plan for this diagnosis only. The plan will be listed in the Hidden Plans section of the Plans list. To show a hidden plan, locate the plan in the Hidden Plans section. Swipe left on the plan, and tap Show.
For no-charge visits, select the No Charge Visit plan.The Details screen appears. The Details screen differs based on the plan you select. For more information, go to Entering Details for Common Plans in the iPad App.
- Enter the details for the plan, and tap Done.
The Plans drawer on the Ocular Exam Room appears.
- Select more plans until you’ve selected everything you’ve done related to the diagnosis.
- Tap the Plans drawer to close it.
- If there was only one diagnosis and the exam is complete, tap Save Visit Note to save your changes.
If there was more than one diagnosis, open the Diagnoses drawer to diagnose another condition.