Recording Physical Counts Using the Physical Inventory Worksheet
-
In the top menu bar in Encompass, click Inventory and select Product Inventory.
-
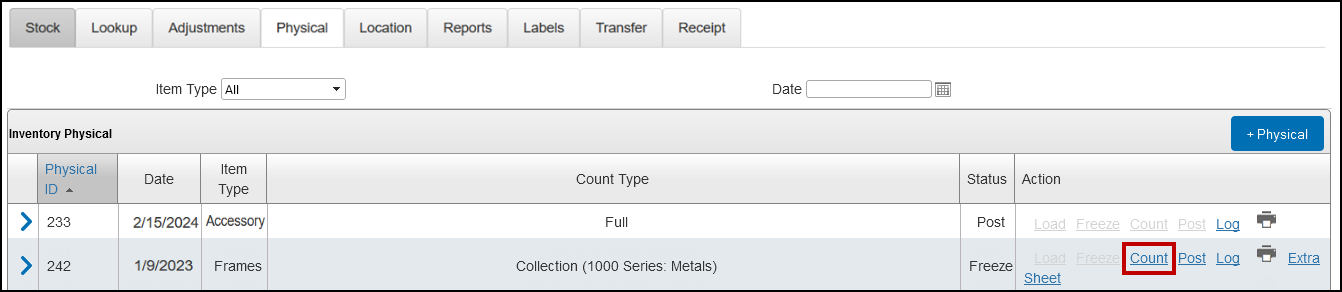
Click the Physical tab.
- Locate the physical count (Physical ID) you want to record. If you need to add a new physical count, see Adding a Physical Inventory Count Record.
- Click Load to begin the physical count session.
- Click Freeze to freeze the inventory items.
This prevents changes to inventory amounts while you are counting your inventory.
- Click the blue arrow next to a physical count to open the details panel.
- To record the count for each item:
- Click Add Details to add items to the physical inventory record.
- Click Count.
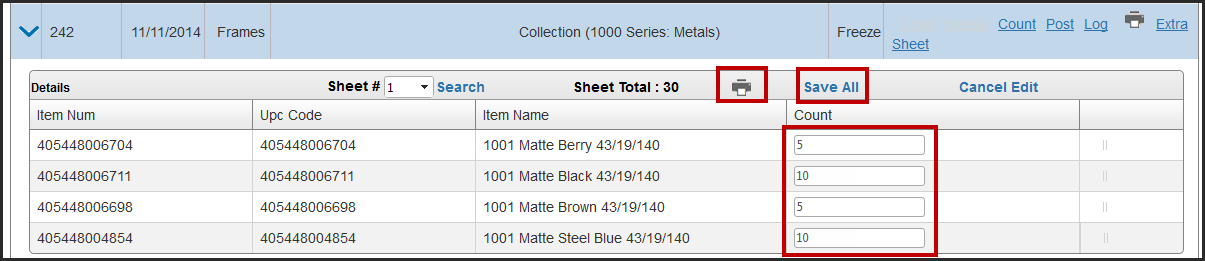
- Enter the Count (quantity) to add or change the counts on the items added.
- To print the Physical Inventory Worksheet, click Print.
- Click Save All.
The counts are saved.
- When you have finished recording all counts, click Post.
- To view the Inventory Physical Log, click Log. This log lists the dates and staff members responsible for opening, freezing, and posting the counts.
- To print the Inventory Physical Reconciliation Report, click Print.
- To print a blank Physical Inventory Worksheet, click Extra Sheet.