Schedule, Reschedule, or Cancel a Patient Appointment using Patient Engagement
This topic walks through the steps a patient completes to schedule, reschedule or cancel an appointment on your practice's website and what you see in Encompass. The experience can vary based on your practice website; for example, your practice may have only one location or use location links or a map the patient uses to select the location prior to booking.
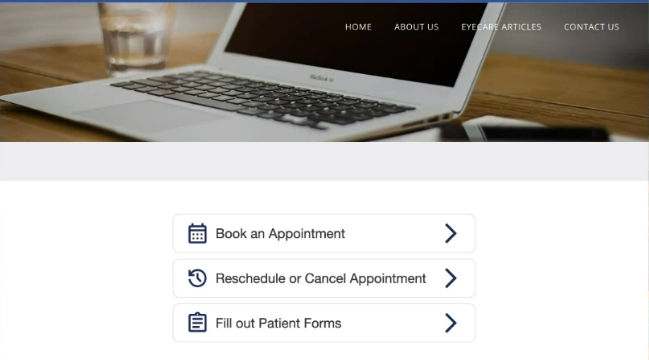
- To schedule an appointment, the patient clicks Book an Appointment. No login is required.
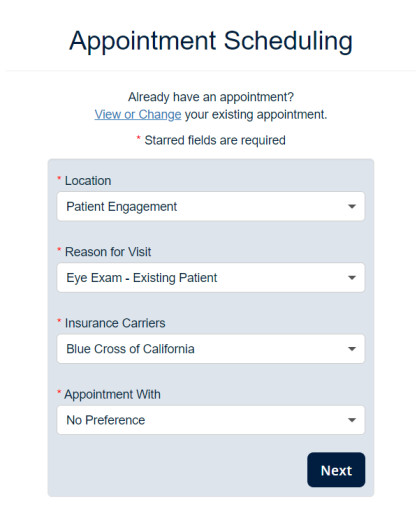
- Select from the Location drop-down list. Note: If you selected a location from the website before booking the appointment, the location is entered for you.
- The patient selects a Reason for Visit, their Insurance Carrier, and from Appointment With, the Doctor/Staff Member they want to see. The options available in the drop-down lists are determined by the settings in your Encompass system.
-
From the Appointment Scheduling screen, the patient selects a Date and Time for the appointment.
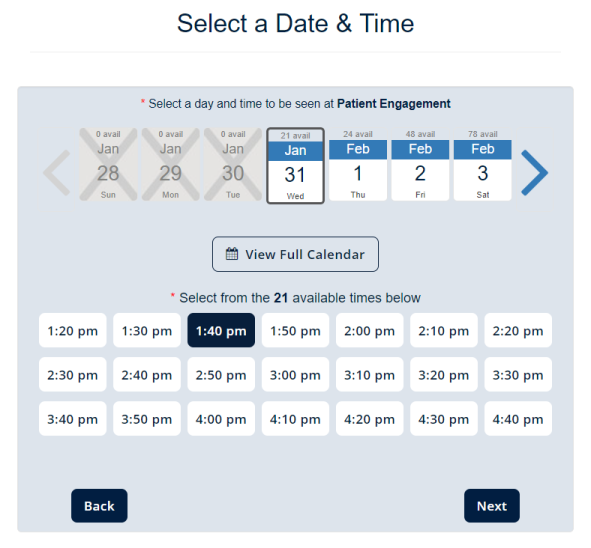
Then, clicks Next.
The dates and times shown are based on the available appointments in your Encompass Scheduler.
Your practice can specify the number of days from the current date when the earliest appointment is available. You can elect to allow same-day appointment scheduling online, or only offer appointments beginning tomorrow, or four days from the current day. The system defaults to tomorrow.
-
On the Patient Information screen, the patient enters their name, date of birth, ZIP code, email and phone number. They can also enter their Insurance ID. This information is used to either locate an existing patient record in Encompass or create a new record.
The Insurance Id field is optional and may not appear if your practice does not have it enabled.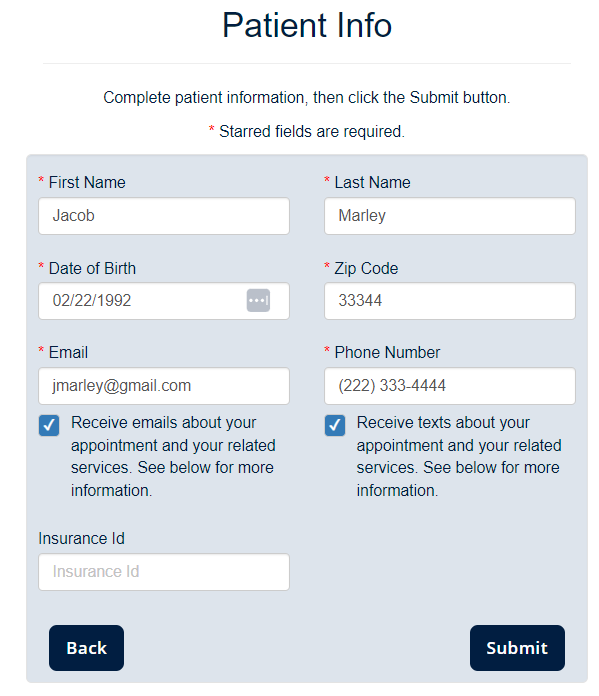
- The patient then clicks Submit.
-
The system checks to see if the patient has an existing patient record. If a patient record is found, the appointment is scheduled.
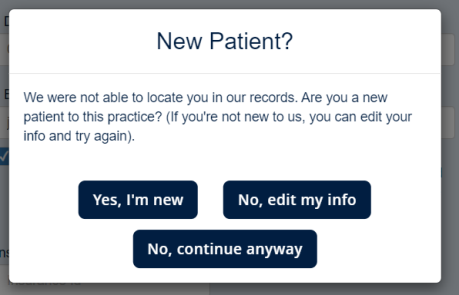
If no patient record is found, a message asks if they are a new patient.
-
When the patient clicks Yes, I’m new, the Last Step screen displays with additional fields required to create a new record in Encompass. The patient enters the additional fields and then clicks Submit. The appointment is scheduled and a patient record is created in Encompass.
- When the patient clicks No, edit my info, the patient returns to the Patient Info screen to edit any incorrect information and then clicks Submit. If the patient is found, the appointment is scheduled.
-
When the patient clicks No, continue anyway, the appointment is scheduled and a patient record is created in Encompass.
A message displays on both the Encompass home screen and Search/Add Patient screen to notify you to review the new patient record and decide whether to keep it or not. See Schedule, Reschedule, or Cancel a Patient Appointment using Patient Engagement for more information.
-
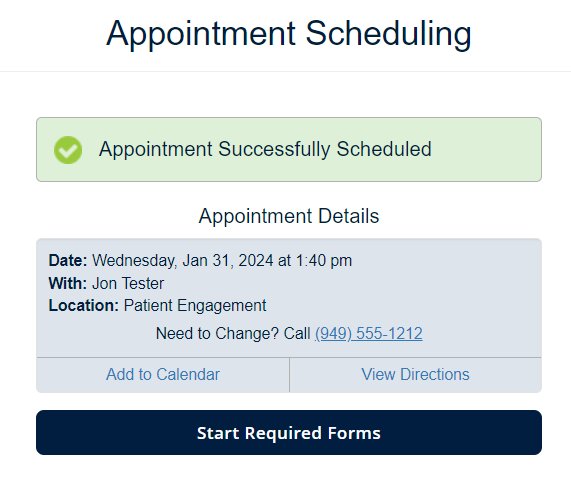
- Once the appointment is scheduled, the Appointment Successfully Scheduled screen displays and the patient is sent a confirmation email.The appointment is automatically added to your Scheduler in Encompass when the patient clicks Submit. An email is also sent to your practice with the appointment information, but no action is required.
- In the Appointment Successfully Scheduled screen, the patient can:
- Click Add to Calendar to add the appointment to their electronic calendar. The appointment title is "Optometry appointment - Doctor Name" and the office address and phone number is listed in the Location field.
- Click View Directions to open Google Maps to your office location.
- Check VSP benefits, if he or she selected VSP as the insurance carrier for the appointment.
The patient can cancel an existing appointment via the Online Scheduler.
-
From the menu, the patient selects Reschedule or Cancel Appointment.
-
The patient enters their First Name, Last Name, Date of Birth and ZIP Code or Phone Number and clicks Next.
-
Click the Reschedule or Cancel link. The Appointment Details page displays.
Note: The link displays based on your office configuration. If the appointment is within a certain number of days, the link does not display and instead, the patient is prompted to call the office. -
Click Cancel (the button displays to the right of the appointment information). The patient is prompted to confirm the cancellation.
-
To confirm, click Yes.
The patient can reschedule an existing appointment via the Online Scheduler.
-
From the menu, the patient selects Book an Appointment.
-
The patient enters their First Name, Last Name, Date of Birth and ZIP Code or Phone Number and clicks Next.
-
Click the Reschedule or Cancel link. The Appointment Details page displays.
Note: The link displays based on your office configuration. If the appointment is within a certain number of days, the link does not display and instead, the patient is prompted to call the office. -
Using the calendar, the patient selects the date and time for new appointment. The patient can click the arrows to move the highlighted week back and forth or click View the Full Calendarif they want to see more than a week.
-
The patient clicks Next. The Appointment Rescheduled screen displays. From this screen, the patient can add the appointment to their calendar or view directions.
In Encompass, your calendar is updated in real time.
The following video guides you through rescheduling or canceling an appointment.