Attaching Electronic Documents to Patient Records in ExamWRITER
- In addition to attaching electronic documents to patient records in the Patient Information Center, you can also add, edit, delete, view, and print a list of electronic documents attached to a patient’s exam record by clicking the Images - Drawings tab and then clicking the Images, Drawing and Graphic category bar on the ExamWRITER chart window.
- For information about sending clinical summaries to patients, go to Giving Patients Access to Their Clinical Data.
- For information about sending clinical summaries to other providers, go to Sending Clinical Information to Another Provider.
- The following information pertains to ECR Vault users:
- To scan documents, open the Patient Demographic window and click ECR Scan (or press F9) to open the ECR Capture window. For more information about scanning documents, refer to the ECR Vault User’s Guide.
- To search for and view documents, open the Patient Demographic window and click ECR Retrieve (or press F10) to open the ECR Vault Client window. For more information about searching for and viewing documents, refer to the ECR Vault User’s Guide.
- To locate the ECR Vault User’s Guide, click Start, select Programs, select Comsquared, select ECR Vault, and select ECR Vault User Guide.pdf.
- Click the Patient Hx icon in the top left of the ExamWRITER chart window or select a patient in the ExamWRITER Control Center window and click the Patient Hx icon.
The Patient Information Center window opens.
- Click the eDocuments tab.
- Select the All Exams or This Exam Only Display Documents from radio button and click Show eDocs to display electronic documents from all exams or from the current exam only.
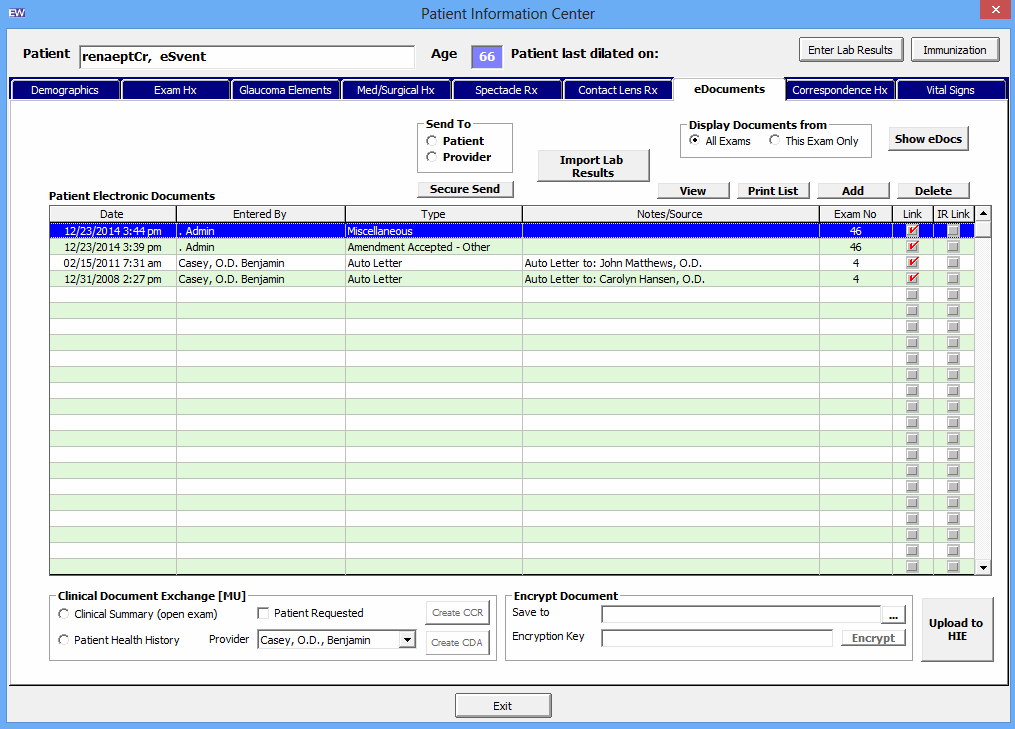
- Click Add to add a new electronic document to the patient’s record.
The eDocuments Information window opens.
- Select a document type from the Document Type drop-down menu.
Press the F12 key to open a Code Maintenance window add new items to or modify or delete existing items from the Document Type menu. For more information, see this knowledge base article.
- If you want to attach an electronic document to a specific exam record, select the Attach Document to Exam check box and select an exam.
- If you want to add notes to the form, type them in the Notes text box.
- Click Browse to navigate to and select an electronic document to link to the patient’s record.
OR
Click Scan to scan documents directly into ExamWRITER and save them as an eDocument in the patient’s record.
- Because all documents scanned directly into ExamWRITER must be saved as PDF files, you must have Adobe Reader installed on your computer. Go to www.adobe.com to download and install Adobe Reader for free.
- Eyefinity does not recommend a specific scanner brand or model. You can use any scanner that supports the TWAIN interface standard and can create an electronic document with the ExamWRITER eDocuments feature. For more information on scanners, go to this knowledge base article, or consult your hardware technician.
- Eyefinity does not support your hardware and highly suggests consulting your hardware technician before purchasing a scanner to use with your computer. For installation, support, and troubleshooting issues related to your scanner, contact the scanner’s manufacturer.
- If you clicked Scan in step 8, follow the instructions below; otherwise, skip to step 10:
- Select the following Scan Options on the Scan Document(s) window:
- B/W if you want to scan the document in black and white.
- Greyscale if you want to scan the document in greyscale.
- Color if you want to scan the document in color.
- Duplex if you want to scan two sides of a document (and if it is supported by the scanner).
- Hide UI if you want to hide the scanner’s user interface. If you deselect this check box then the scanner’s interface will open with additional scanning options. For information about these additional options, view the scanner’s documentation.
- Click the ... (ellipse) button in the Scan Options box to open the Select Source window and select a scanner.
If you select a different scanner from the one that is already displayed on the blue title bar in the Scan Document(s) window, the window will close and you will have to reopen it by clicking Scan on the eDocuments Information window.
- Click Start Scan to scan the document.
- Click Scan Complete after the document is finished scanning.
Do not click the Save icon in the Scan Preview section of the Scan Document(s) window to save the document. You must click the Scan Complete button to properly save the document.
ExamWRITER automatically names the document using the current date and saves it as a PDF file in the OMATE32\DATA\eDocuments or OfficeMate\DATA\eDocuments folder.
- Select the following Scan Options on the Scan Document(s) window:
- Click OK.
Electronic documents are visible and accessible under the Images, Drawing and Graphics category bar on the Images - Drawings tab.
The Entered By column is populated only if your ExamWRITER security is active.
- Click Exit to close the Patient Information Center window.
In addition to the procedure above, watch this video.