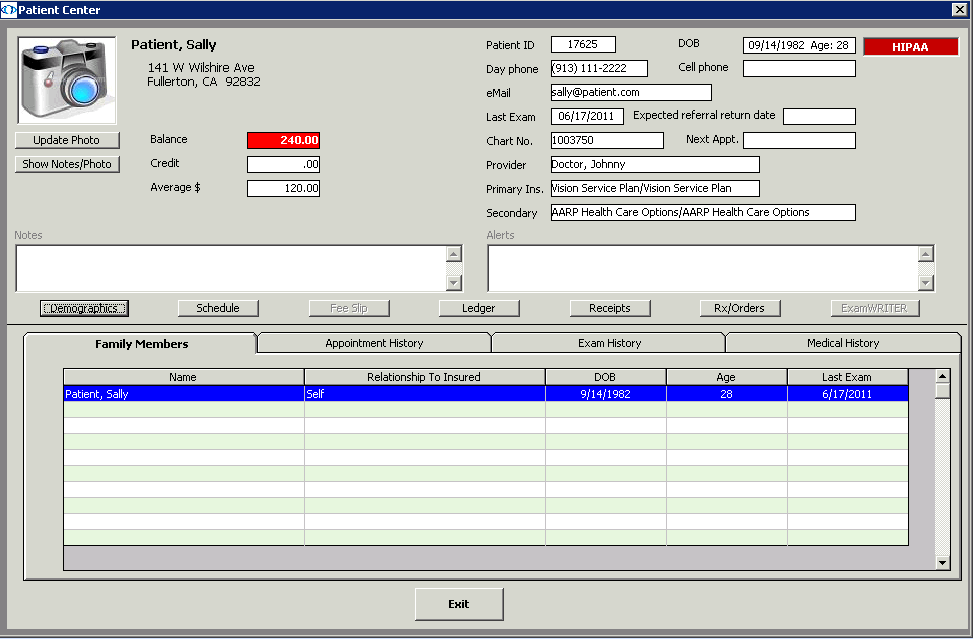
Attaching a Photo to Patient Records
Follow the instructions below to attach or update a patient’s picture to a patient’s record.
- Open a patient’s Patient Center window. For more information on opening a Patient’s Patient Center window, see To open patient records.

- Click Update Photo.
The Update Patient Photo window opens.
- Click Browse and navigate to the patient’s photo on your computer.Browse to and select a .bmp, .jpg, ico, or .wmf photo file that uses a resolution of 120×60 pixels so that it displays well in OfficeMate.
- Click View to view the patient’s photo in the Update Patient Photo window.
- Click OK to update or add the patient’s photo to his or her Patient Center window.To hide the patient’s photo and notes for privacy reasons, click Hide Notes/Photo.