Opening a Patient’s Ledger
- Open the Patient Ledger window using one of the following methods:
- Click the Ledger icon.
- Click Tasks on the main window toolbar and select Patient Ledger.
- Click Ledger on the Patient Center window.
- Right-click the Patient Demographic, Hard Lens Order, Soft Lens Order, Eyewear Order, Fee Slip, or Receipts & Adjustments window title bar and select Ledger.
- Right-click a patient in the Quick List window and select Ledger.
- Click a patient’s name in the Quick List window and drag and drop the patient on the Ledger icon.
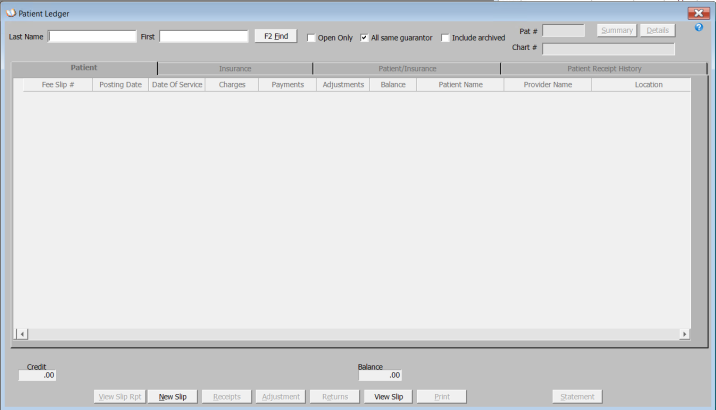
- Select the check boxes as applicable:
- Open Only check box if you only want to view charges that are unpaid.
- Select the All same guarantor check box to view information on all of the guarantor’s linked family members.
- Select the Include archived check box to view fee slips that you archived using the Fee Slip Archive Utility to speed up processing time in the Patient Ledger.
For more information about the Fee Slip Archive Utility (FeeSlipArchiveUtil.exe), see article 000016767, Using the Fee Slip Archive Utility to Archive Fee Slips in OfficeMate.
- Enter search information in the Last Name and First text boxes and click F2 Find to find and select a patient.
- Click the Patient, Insurance, Patient/Insurance, or Patient Receipt History tab. The Insurance tab defaults to display fee slips from all insurance carriers.
- Click Details to view the patient’s fee slip item details, or click Summary to view a summary of the patient’s fee slips.
- The color-coded hierarchical grids in the Patient Ledger window display yellow text for open items, blue text for fee slip line items, and green backgrounds for payments.
- Click the + (plus) or - (minus) sign next to a fee slip to view or hide the fee slip’s line items.
- Click on column headings to sort the summary and detail grids.
- A [P] in the Reference column in the Patient/Insurance tab denotes a patient adjustment or return.
- An [I] in the Reference column in the Patient/Insurance tab denotes an insurance adjustment or return.
- DNP (Do Not Print) check boxes display items that will not be printed on the Statements report.