What's New in AcuityLogic 7.13 for On-Premises Users
Eyefinity announces the newest version of AcuityLogic. In addition to resolving known issues in previous versions of AcuityLogic, this updated version offers new features and expanded functionality.
Topics include the following:
For more information on AcuityLogic features, training, and integrations, contact your account representative, or call Eyefinity at
If you use Admin's module-based session timeouts, note that the AcuityLogic server's application pool timeout setting takes precedence over the Admin timeout settings. For example, if POS user sessions are set to time out after 15 minutes and the application pool times out after 10 minutes, idle users are logged out of POS after 10 minutes, not after 15.
For information about configuring timeouts for AcuityLogic modules, see
Admin Enhancements
Admin includes enhancements in the following areas:
Configuring Buttons to Access External Websites
You can now add up to two buttons that access external websites to the following AcuityLogic windows:
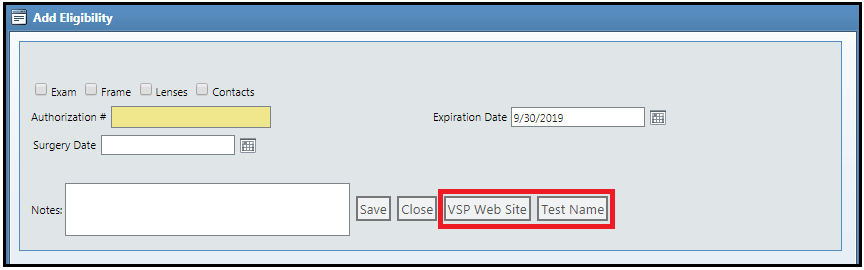
- Patient Edit (POS) — This window can contain two URL buttons in the following location:

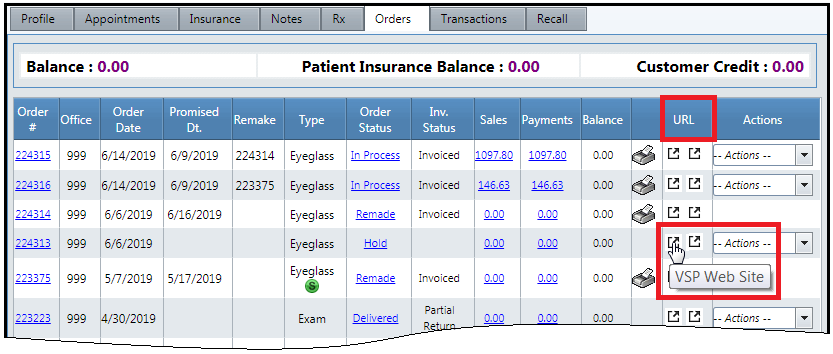
- Patient Orders (POS) — In this window, the URL buttons are icons in the new URL column, which is visible only when at least one URL button is configured for the window. When you hover your cursor over a URL icon, a tool tip containing the name of the icon appears. Clicking the icon opens the external website to which it is linked.
- Patient Insurance (POS) — This window can contain two URL buttons in the following location:
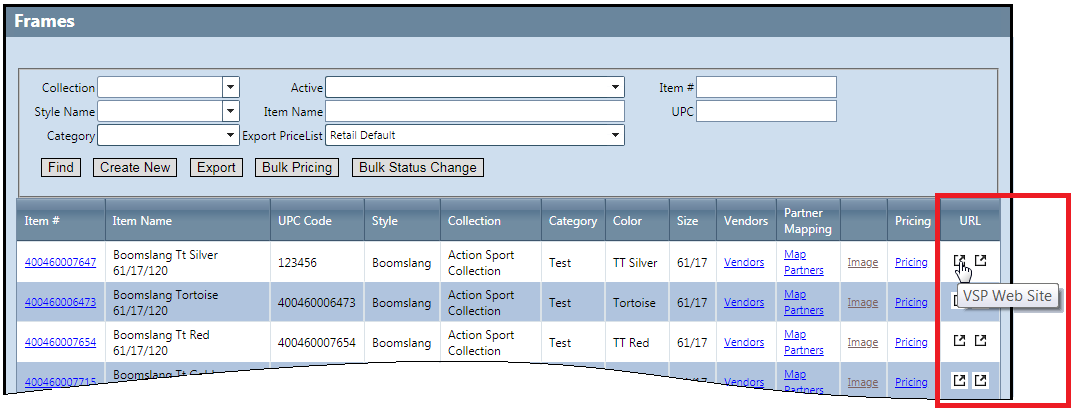
- Frame (Admin) — In this window, the URL buttons are icons in the new URL column, which is visible only when at least one URL button is configured for the window. When you hover your cursor over a URL icon, a tool tip containing the name of the icon appears. Clicking the icon opens the external website to which it is linked.
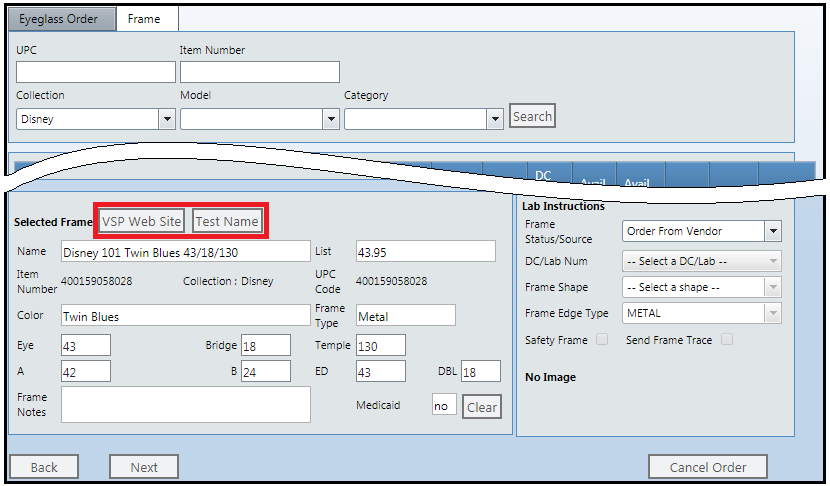
- Patient Frame Order (POS) — This window can contain two URL buttons in the following location:
To use this feature, follow these procedures:
- In Admin, click Company, and select Company Setup.
- In the Company Information window, click the link for your company in the Web Extension column.

- In the Company Web Extensions window, click Create New.
- In the Create URL Settings window, specify the following information:

- URL: Enter the address of the external website that you want the button to access (for example, https://www.vsp.com/). When a user clicks the button, the website opens in a new window.
- Button Name: Enter a label for the URL button (for example, "VSP Web Site").
- Static Token: (Optional) Enter the token that AcuityLogic passes to the URL to identify itself.
- Active: Check this option to activate the URL button.
- Screen Name: From this drop-down list, select the AcuityLogic windows on which you want the button to appear. After each selection, click Add. Up to two URL buttons can be added to each window.
- Parameter Name: (Optional) From this drop-down list, select one or more of the parameters (AcuityLogic fields) that you want to associate with the button. After each selection, click Add.
This is a predefined list that cannot be edited. You cannot add windows to it or remove them from it.This is a predefined list that cannot be edited. You cannot add parameters to it or remove them from it.Multiple parameters can be associated with one button. Only the parameters available in the window in which the button appears can be passed by the button. For example, if the button is on the Edit Patient window, you cannot pass an insurance ID number.
Eyefinity recommends that you associate parameters with only trusted and secure URLs. When users click the URL button, any data in the associated parameters is passed to the external website. -
Click Save.
- In Admin, click Company, and select Company Setup.
- In the Company Information window, click the link for your company in the Web Extension column.
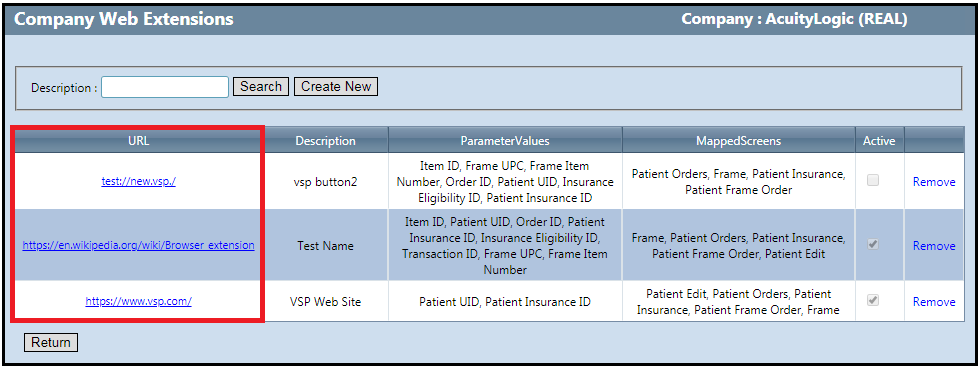
- In the Company Web Extensions window, enter the button's description (name) in the Description field.
- Click Search.
The search results are displayed in the window.
- In Admin, click Company, and select Company Setup.
- In the Company Information window, click the link for your company in the Web Extension column.
- In the Company Web Extensions window, click the address in the URL column of the button you want to edit.
If you do not see the appropriate URL, search for the button. See To find a URL button.
- In the Edit URL Settings window, perform any of the following tasks:
- Modify the URL, the button name, or the static token.
- Deactivate the URL button.
- Add or remove associated windows and parameters.
- Click Save.
- In Admin, click Company, and select Company Setup.
- In the Company Information window, click the link for your company in the Web Extension column.
- In the Company Web Extensions window, click the Remove link in the row of the button you want to remove.
-
In the confirmation message, click OK.
The URL button is removed from your system.
Adding a Copay for Spectera Formulary Contact Lenses
Many Spectera plans now require a copay on formulary contact lenses. To accommodate this, a Copay Type field was added to the Spectera Contact Lens Only method:
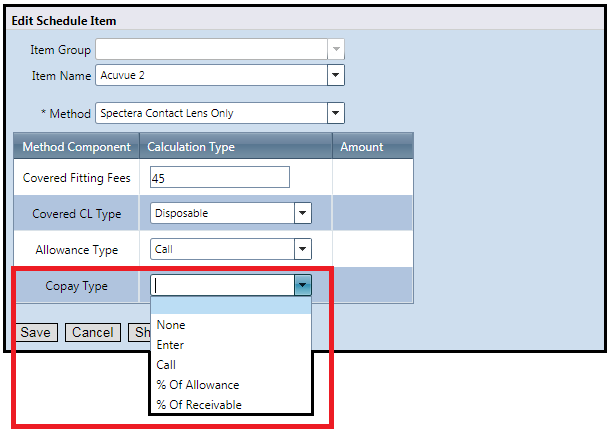
If a Spectera plan has a copay for formulary contact lenses, select Enter from the Copay Type drop-down list, and add the copay amount.
BackOffice Enhancements
BackOffice includes an enhancement in the following area:
Displaying Vendor Names for Returns in Inventory Transaction Detail Report
Previously, if you selected the Extended Reference option when you ran the Inventory Transaction Detail Report (AC147), the report showed the vendor name for transactions received from vendors but not for transactions returned to vendors.
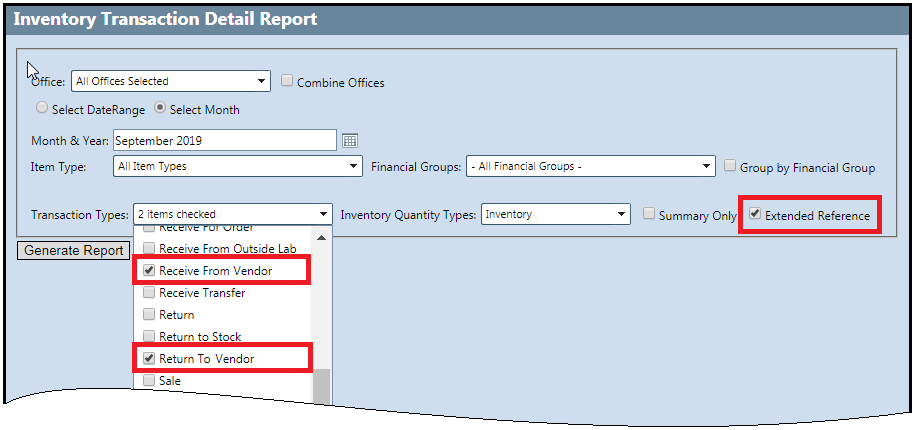
Now, the report shows the vendor name for both transaction types:
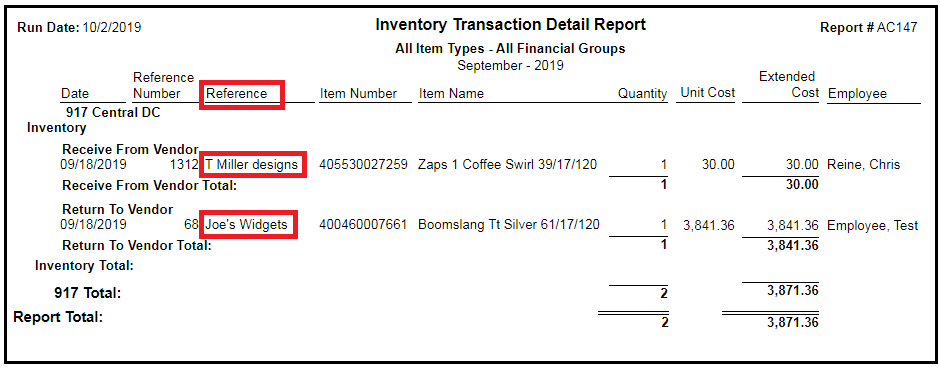
This change also appears in the CSV version of the report.
In addition, the report's Office drop-down list now includes all the distribution centers in your company, not just the distribution centers whose Location Type is marked as Retail in Admin. This change was also made to the Inventory Valuation Report (AC151).
Billing Enhancements
Billing includes an enhancement in the following area:
Supporting ICD-10 Code Updates
AcuityLogic now supports the ICD-10 FY 2020 updates for 2019, which include 62 new codes. The new codes are available to users in the POS exam and Billing claims windows. For more information, see 2020 ICD-10 Updates.
Fixed Issues
AcuityLogic 7.13 fixes issues in the following areas:
Admin
- Previously, deselecting the Active option in the Item Fields section of the Admin > Product > Frames > Frames > Frame Edit window saved any changes made in Item Fields (except to Allow Zero Price) and marked the frame Inactive, even when users clicked Cancel instead of Save to exit the window. Now, deselecting the Active option in Item Fields does not save any changes. To save changes, you must click Save.
BackOffice
- You can now run the Cost of Sale Analysis by Office report (AC118) for any month without receiving a divide-by-zero error message.
Billing
- When generating CMS 1500 and safety statement forms to bill claims for one or more providers, users no longer receive an unknown error. In addition, when transmitting claims filtered by provider to TriZetto, users no longer receive a could-not-execute-query error.
- If a plan includes the Medicaid Modifier Rule method, the method’s Additional Information dialog box now appears during order pricing whether the Medicaid plan is used as the order’s primary or secondary insurance, and Medicaid modifiers associated with the information you enter in the dialog box are applied to the appropriate claim. Previously, the dialog box did not appear when the Medicaid plan was used as the secondary insurance, and no Medicaid modifiers were applied to the secondary claim.
POS
- Users no longer get an unknown error when they open the Orders tab of a patient's profile. Previously, users received an unknown error if they opened the Orders tab of a patient who had an order without an order status.