ePrescribing Medications in the Visit Overview (Web)
You can add, edit, print, and send prescriptions to the patient's preferred pharmacy electronically directly in the Visit Overview. What do you want to do?
- Open a patient visit. For more information, go to Creating or Opening a Visit (Web).
- Locate the Impressions and Plans section.
- Select a Diagnosis.
- For the Plan, select Prescription along with other plans as needed and click Save.
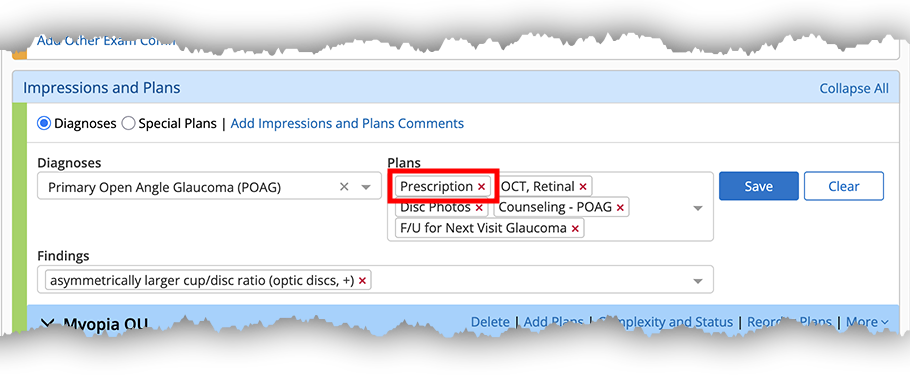
- Select the laterality or body location as prompted and click Save.
- Locate the Prescription plan you just added and click Resume.
- Select the Drug Name, Sig, and other details and click Save. To learn more about recording medication details, go to Managing Therapeutic Prescriptions.
The medication is now listed as part of the plan and in the Rx section of the Visit Overview.
If the medication has been sent electronically or printed, it cannot be edited.
- Open a patient visit. For more information, go to Creating or Opening a Visit (Web).
- Scroll down to the Rx section in the Visit Overview.
- Locate the medication and click the drug name.
The Drug Details window opens.
- Edit the prescription details and click Done.
- Click the Save Visit Note action bar button to close the Ocular Exam page and return to the Visit Overview.
Once a medication has been sent electronically the medication cannot be edited, and neither the diagnosis nor the prescription plan can be deleted.
- Prescribe a medication as part of a plan. to learn more, go to Prescribe a medication as a plan in the visit.
- Locate the Rx section in the Visit Overview.
The Rx section is below the Impressions and Plans section and lists any medications documented in plans.
- Click the Send ePrescription link.
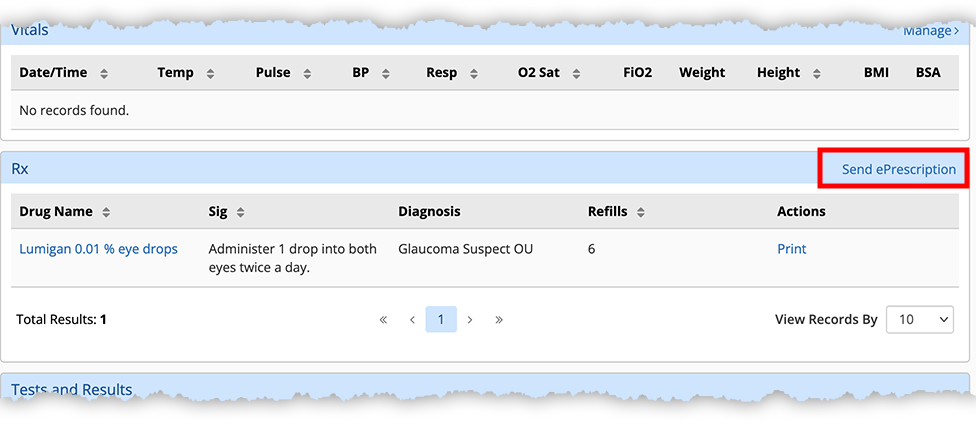
The Visit Prescriptions window opens.
- Select the check boxes for each prescription you want to send and then click Review and Send.
- On the next page, Select a Pharmacy from the drop-down if more than one is available, review the medications, and click Send Prescriptions.
If the patient does not have a pharmacy, you'll need to add one in the Patient Chart. For more information go to Edit the patient’s personal information.
The Rx section in the Visit Overview now displays eRx'd to Pharmacy next to each medication sent.
Once a medication has been printed the medication cannot be edited, and neither the diagnosis nor the prescription plan can be deleted.
- Prescribe a medication as part of a plan. to learn more, go to Prescribe a medication as a plan in the visit.
- Locate the Rx section in the Visit Overview.
The Rx section is below the Impressions and Plans section and lists any medications documented in plans.
- Click Print.
The prescription opens as a PDF.
- Click the (Print) button in your PDF viewer.
If the medication has been sent electronically or printed, it cannot be deleted. To remove the medication, delete the prescription plan:
- Open a patient visit. For more information, go to Creating or Opening a Visit (Web).
- Locate the Impressions and Plans section.
- Locate the prescription plan and click Delete in the plan header.
The medication is removed from the Impressions and Plans and the Rx sections of the Visit Overview..