Editing the Patient’s Personal Information in the iPad App
Editing is available only in the standalone version of Encompass. If you're using a practice management system, edit the patient demographics and insurance information there. What do you want to do?
- Log into the Encompass iPad app.
- Search for a patient or tap a patient's name in the agenda to open the Patient Chart.
- Tap the More action bar button and select Edit Patient.
The Edit Patient screen opens and displays the patient's demographic information.
- Open the Edit Patient screen. For more information, go to Open the Edit Patient screen.
- Tap Edit Patient.
Editing is available only in the standalone version of Encompass. If you're using a practice management system, edit the patient demographics and insurance information there.
-
Tap the Pharmacies tab on the left to open a section where you can document the patient's preferred pharmacies.
For more information on adding a patient's pharmacy, go to Documenting a Patient's Pharmacy.
-
Tap the Practice Data tab to open a section where you can:
- Document whether or not the patient is an Established Patient
- Assign one of your practice's doctors as the patient's Primary Provider
-
Document the name of the patient's Primary Care Provider (PCP) and/or Referring Provider
You'll only be able to document physicians who are already on your list of referral contacts. Referral contacts must be added using the web application. For more information, see Managing Referral Contacts.
- Tap the Patient Edit History tab to view any changes a patient has made to their chart through their patient portal or the kiosk app.
- Tap Done.
- Open the Edit Patient screen. For more information, go to Open the Edit Patient screen.
- Tap the next to the profile image.
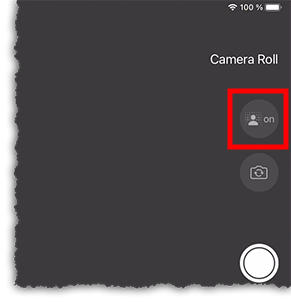
- Optionally, tap the background button so it indicates "on" to add a backround filter to the photo.
Only iPad models that include a built-in LiDAR scanner support this feature.
- Tap the shutter button to take the photo.
A photo preview opens.
- If prompted , select one of the background effects along the left side of the screen and tap Done.
- Tap Save.
The patient's photo will appear in the patient's chart in the iPad app, in the web application, and in the patient portal within a few minutes.
