Setting Up Electronic Prescribing of Controlled Substances
You can legally prescribe Schedule II–V controlled substances electronically in all 50 states, and many states require all controlled substances be e-prescribed. Check with your state board to find out if or when electronic prescribing of controlled substances (EPCS) is required in your locality. EPCS is intended to protect your patients as well as your practice by discouraging doctor-shopping, preventing drug abuse, eliminating stolen and altered prescriptions, and providing an auditable record of prescriptions.
While the Encompass ePrescribing interface is capable of EPCS, you must undergo an authentication process before you’re able to prescribe controlled substances. You should begin the registration process at least two weeks before you’re required to use EPCS.
Before you can set up and use EPCS, you must have e-prescribing enabled in Encompass. For more information, go to Setting Up ePrescribing for Users.
The registration process may take up to two weeks. The individual steps don’t take much time, but you can’t complete them in one sitting. Here’s an overview of the process:
- Request EPCS access from Eyefinity. Eyefinity will process your request with Surescripts.
- Create an ID.me account. Signing up is free and easy. ID.me is an authentication service used to verify your identity.
- Set up two-factor authentication. You’ll need to download the ID.me smartphone app. You'll need to install this app on a device that's separate from the iPad on which you use Encompass.
- Verify your medical credentials. You’ll need to answer questions about your credit history to verify your identity and enter your medical credentials in ID.me to verify your EPCS eligibility. If you have a fraud alert message on file with a credit reporting agency, you must remove the fraud alert message.
- Set up an EPCS PIN. The PIN is another layer of multifactor authentication required by the DEA. You will be prompted to create a PIN when you log into the Encompass browser application.
- Set up software access. You’ll need a practice administrator and another provider to verify your EPCS access in Encompass.
The practice administrator should complete the EPCS Request Form for each provider in the practice. To complete the form, you'll need the following information for each provider:
- Name
- Encompass ID
- Email address
- NPI
- Medical license number
- DEA number
Once the practice administrator has this information, he or she can complete the EPCS Request Form. The provider will receive an email from Eyefinity when their Encompass account has been updated.
Once you receive confirmation from Eyefinity that your account has been enabled for EPCS, you must sign up for an ID.me account or connect an existing account to Encompass.
You may already have an ID.me account. ID.me is used by various companies and government agencies to verify identities.
- Log into Encompass EHR on the web.
- Click Preferences.
- Locate the EPCS ID Proofing section of the preferences and click Identity Verification.
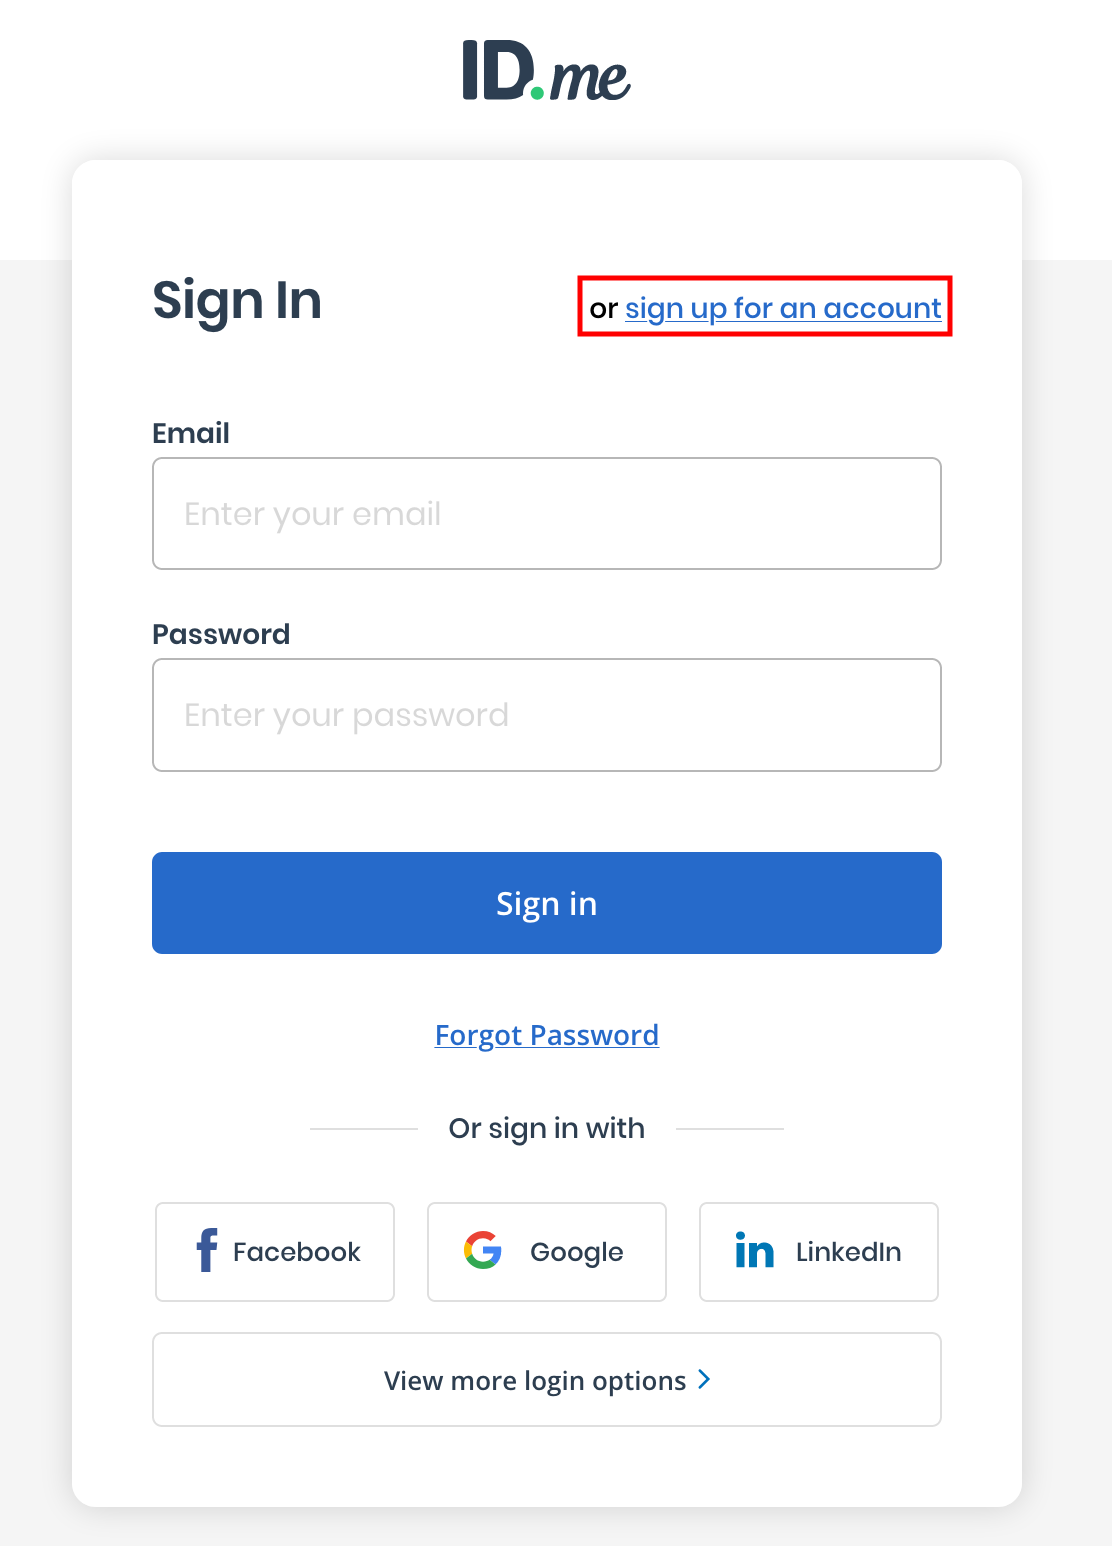
- Click the Sign Up for an Account link.
OR
Sign in with an existing account.
- Complete the required fields and click Sign Up.
An email is sent to the address provided.
- Check your email and locate and the message from ID.me. Click the Confirm Your Email link.
Your ID.me account has been created. You may now set up two-factor authentication.
Two-factor authentication (2FA), sometimes called multifactor authentication (MFA), greatly reduces the likelihood that someone could prescribe controlled substances on your behalf without your knowledge by requiring two methods of authentication. These methods are a combination of something you know (i.e., a password) and something you have (e.g., smartphone, smartwatch). To complete these steps you'll need a desktop or laptop computer and a smartphone. Here's how to set up 2FA:
The device you use for 2FA must be different than the iPad you use to log into Encompass.
- If the browser tab you used to create your ID.me account is still open, return to that tab.
OR
Open your browser and log into your Encompass EHR account, click Preferences, and click Identity Verification.
- Locate the Code Generator option and click Select or Add.
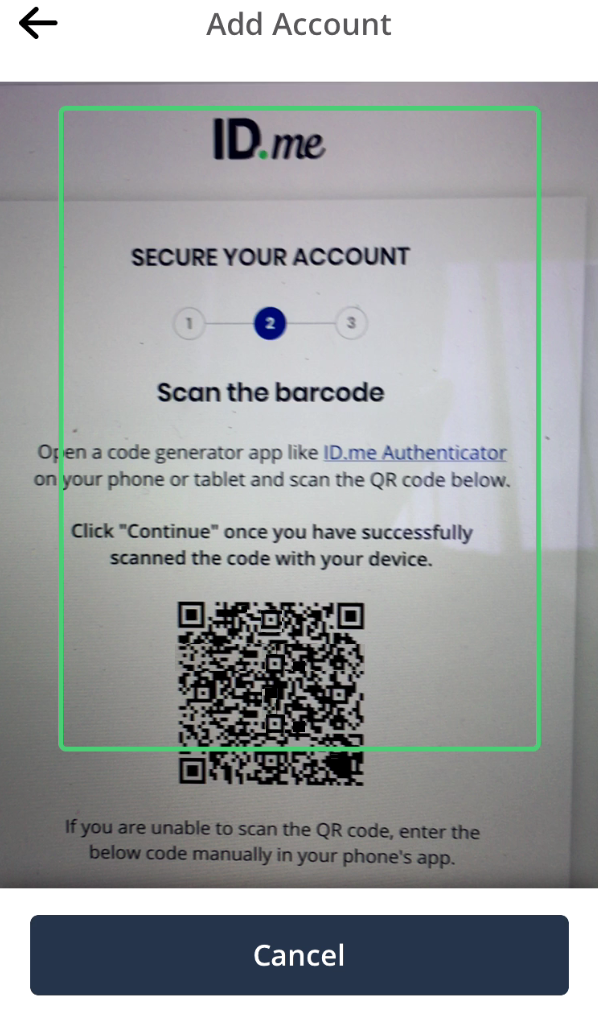
A QR code displays. Leave this window open.
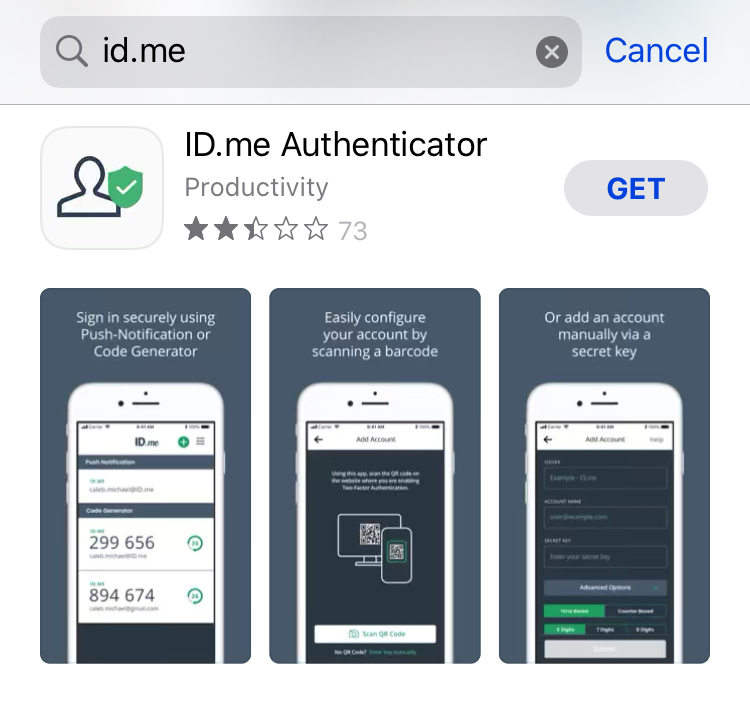
- On your smartphone, download and install the ID.me Authenticator app.
- Open the app and tap the green + icon to add an account.
- Tap the Scan QR Code button.
- If prompted, allow the ID.me Authenticator app access to your camera.
- Point your smartphone's camera toward the computer screen so the QR code is in view.
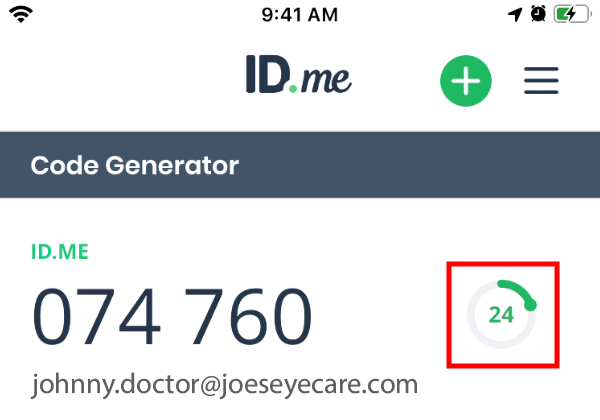
When the QR code is recognized the app displays a six-digit code.
- On the computer, click the Continue button.
- Enter the six-digit code displayed in the ID.me Authenticator app and enter a short name for your device.
- Click Continue.
The code displayed is valid for only 30 seconds. A countdown timer displays the time until to the code expires. If the code expires before you click Continue, you may need to enter a new code.
You have successfully enable 2FA.
Once you've enabled two-factor authentication, the ID.me web page asks you to enter your medical credentials to verify your eligibility for EPCS. You can enter your medical credentials only by accessing ID.me through Encompass EHR.
- If the browser tab you used to create your ID.me account and enable 2FA is still open, return to that tab.
OR
Open your browser and log into your Encompass EHR account, click Preferences, and click Identity Verification.
ID.me gives you the option of verifying your identity by answering questions about your credit history or by uploading photos of your driver's license or passport.
Choosing to answer questions about your credit history does not affect your credit score. If you have a fraud alert message on file with a credit reporting agency, you must remove the fraud alert message. Usually this request must be made in writing and could take weeks to process. Contact the credit reporting agency that initiated the fraud alert. You may restore your fraud alert after you have verified your identity through ID.me. If you recently changed your name or if you’ve been the victim of identity theft, you may be required to provide physical documentation of your identity.
- After verifying your identity, enter your individual NPI and complete the remaining fields. The NPI must match the individual NPI entered in Encompass EHR.
ID.me instantly verifies your medical ID.
- Click Continue once your medical ID is available.
- Click Allow to authorize Encompass EHR to connect to your ID.me account.
If you're unable to complete any part of this process online, you will be prompted to speak with an ID.me agent.
You must set or change your EPCS PIN in the web application. If you don't have an EPCS PIN or your PIN has expired, you will be prompted when you log into the browser application to create one.
- Log into the Encompass web application.
- Click Preferences in the upper-right corner of the page.
- Locate the EPCS Authorization PIN section and click Create PIN.
- Enter a New PIN and reenter the PIN in Confirm PIN.
Your PIN must be between four and eight digits.
- Click Save.
Your PIN is now set. Whenever you prescribe a controlled substance electronically, you will be required to enter your PIN in addition to the security code from your ID.me authenticator app.
Before you can prescribe controlled substances, two people must confirm your access:
- A member of your practice who has administrator access to Encompass EHR
- Another provider who has undergone the identity verification process for EPCS
If you're the first provider in your practice to undergo the identity verification process, you'll verify and activate your own EPCS access.
The office administrator and the validating provider must perform the following steps together:
- The office administrator logs in to Encompass EHR on the web as an administrator.
- The office administrator selects the provider.
- The office administrator verifies the provider's Rx DEA IDs are entered:
- Click the Settings tab.
- Verify the DEA ID, License Number, and License State are entered correctly.
- The office administrator clicks the EPCS Access Control tab.
If the EPCS Access Control tab is not present on the provider's Practice Account Page, ask the provider to complete their identity verification.
- Under the Electronic Prescribing of Controlled Substances (EPCS) heading, the office administrator performs the following steps:
- Select the I Agree check box.
- Select the Enable Practitioner Rights to EPCS radio button.
- Select both of the EPCS Activation check boxes.
- Select a Second Account Activator.
- The validating provider enters their own EPCS PIN.
- The validating provider opens the ID.me Authenticator app on his or her smartphone.
- The validating provider enters the Security Code displayed in the app and clicks Activate EPCS.
In addition, the office administrator must complete the following steps to update the provider's Surescripts registration:
- Log in to Encompass EHR on the web as an administrator.
- Select the provider.
- Click the ePrescribe tab.
- Click the SPI hyperlink that corresponds to the provider's primary practice location.
- Select the Controlled Substances check box and click Update Surescripts Data.
- If the provider will prescribe controlled substances at other locations, repeat steps 4 and 5 for each location.
Writing prescriptions for controlled substances is similar to writing prescriptions for noncontrolled substances, with two small differences:
- Not all pharmacies accept EPCS, so your pharmacy options may be limited.
- You'll be required to enter a six-digit security code generated by your ID.me Authenticator app to send the prescription to the pharmacy. This means you'll need access to your smartphone or smartwatch with the ID.me Authenticator app.
Never prescribe a controlled substance to yourself, not even to test your EPCS capability.
To learn how to write electronic prescriptions, go to ePrescribing a Medical Prescription in the iPad App or Prescribing Medications Electronically in the Browser
If a provider forgets their PIN or their account is compromised, practice administrators can manually reset a provider’s EPCS PIN.
- Log in to Encompass as an administrator.
- In the Practice Accounts section, locate the user and click the user’s Name.
The Manage Existing Practice Account page opens.
- Click the EPCS Access Control tab.
- Click Reset EPCS PIN and then click Reset PIN on the confirmation page.
The provider will be prompted to create a new EPCS PIN the next time they log into the web application.


