Giving Patients Access to Their Clinical Data
You can give patients access to their clinical health summary through the patient portal. Inform your patients that they will receive an email with instructions for accessing their clinical health summary. Download the flier from www.eyefinity.com, print it, and give it to patients to educate them about the portal and encourage them to use it.
A clinical health summary is automatically created when you close or finalize a billable exam in ExamWRITER.
Follow the instructions below to manually create a clinical health summary or to resend a patient a clinical health summary.
- Open the patient’s exam in ExamWRITER and click Patient Hx.
- Click the Demographics tab and verify the patient’s Name, Date of Birth, and E-Mail Address.Patients are not required to have email addresses recorded in the Patient Demographics window for you to send them secure messages and for them to view the messages in the patient portal.
- Click the eDocuments tab.
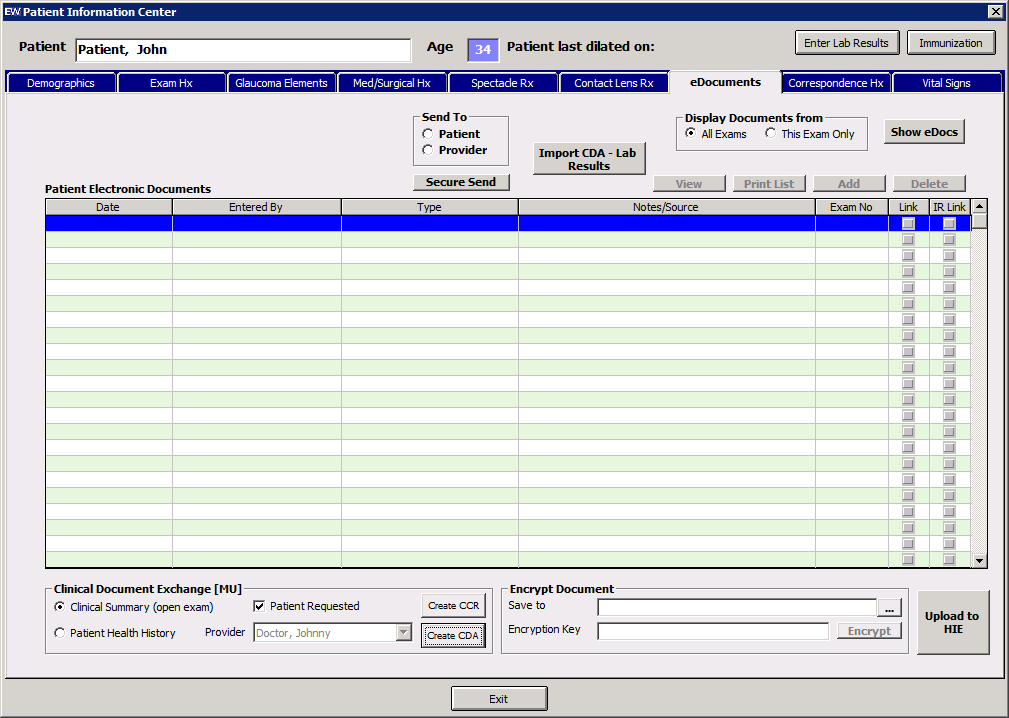
- In the Clinical Document Exchange section, slect the Clinical Summary (open exam) radio button.
- Select the Patient Requested check box and click Create CDA.
- In the Edit Clinical Summary window, select the clinical data you want to include in the file.
The Original Document section reflects all of the data in the clinical summary that you can share with the patient. The Final Document section reflects only the data that you choose to share with the patient. By default, all of the data is selected.
- To exclude certain data, deselect the appropriate check boxes in the Original Document section.
Data that you deselect in the Original Document no longer appears in the Final Document.
You may also deselect the check boxes in the Final Document section, but if you must reselect them, you will need to select the check boxes in the Original Document section. - After you select the data that you want to send the patient, click Save.
- Click OK to dismiss the success message.
The clinical health summary is automatically sent to the patient’s portal and saved as a PDF file in eDocuments. The patient will receive an email explaining that new records are available from your practice and containing a link to access the records. If the patient has never logged into the portal, he or she will receive a second email explaining how to log in. If the patient does not have an email address, go to the provider portal, log in as a practice administrator, view the patient’s user name, and reset the patient’s password in his or her account. Then, communicate this information to the patient. For more information, go to Modifying & Viewing Patient Account Information.
- Encourage the patient to log into the portal and review the clinical health summary. For more information, go to Understanding Patient Access to the Portal.