Printing Patient Statements Individually
- On the top menu bar in Encompass, click Claim Management and select Claim Management.
The claim search screen opens.
- Enter search criteria for the claim you want to bill to the patient and click Search.
-
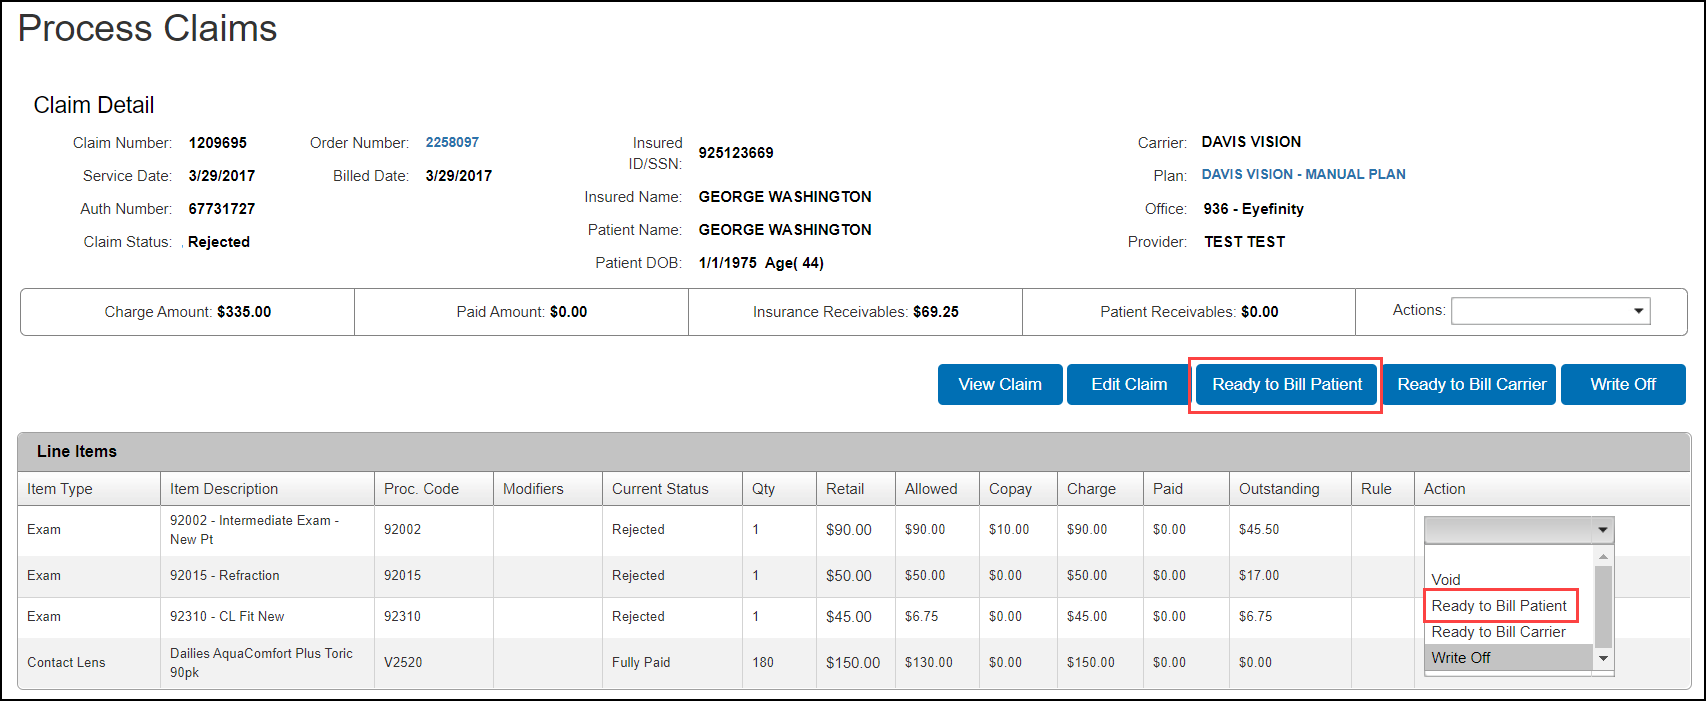
Locate the claim in the search results and click the Claim # link.
The Claim Detail screen opens.
- If the claim does not have the status On Hold, Ready to Bill Patient, or Void, click On Hold.
The claim now has the status On Hold.
- Perform one of the following actions:
- To mark all line items on the claim as Ready to Bill Patient, click Bill to Patient.
- To mark a line item as Ready to Bill Patient, select Ready to Bill Patient from the Action drop-down list in the row of the line item you want to bill.
- From the Rejection Reason drop-down list, select a rejection reason.
This reason will be printed on the patient statement.
- In the Please enter a reason below text box, enter a more detailed note explaining why the claim was rejected.
This note will be printed on the patient statement.
- Click Save.
- Click Generate Statement.
The Generate Statement button does not display if the patient has a negative insurance balance.
- If necessary, click the comment text and edit it.
- Click Generate Statement.
- Click Print.
- After you print the statement, mail it to the patient.
The Edit Comment window opens.
The claim status changes to Billed to Patient and the patient’s statement opens as a PDF in a new window.