Sending a Stock Transfer
Before transferring stock to another office, verify your on-hand quantity by reviewing the Inventory Valuation Report or by searching for items on the Lookup tab in Inventory. If you do not have enough on-hand quantity for the transfer, you can increase the quantity by using the Physical tab or Adjustments tab.
- On the top menu bar in Encompass, click Inventory and select Product Inventory.
- Click the Transfer tab.
- Click +Stock Transfer.
- Select the Item Type you want to transfer.
- Select the Transfer to Office (the office where the item is going).
- Select the Transfer Reason.
- Enter any Notes for the stock transfer, if necessary.
- Click Save.
- Click Add Detail to add items to the stock transfer.
- Search for the item you want to add by typing the UPC Code or the Item #, or clicking Lookup to perform a Stock Item Search.
- Enter the Quantity.You do not need to select the Do not replenish this item check box. This check box is not currently used.
- Click Save to add the item to the stock transfer.
- Repeat steps 9 through 12 for each item you want to add to the stock transfer.
- Click the Print icon for the transfer. It will not be sent until you print the Stock Transfer Report.
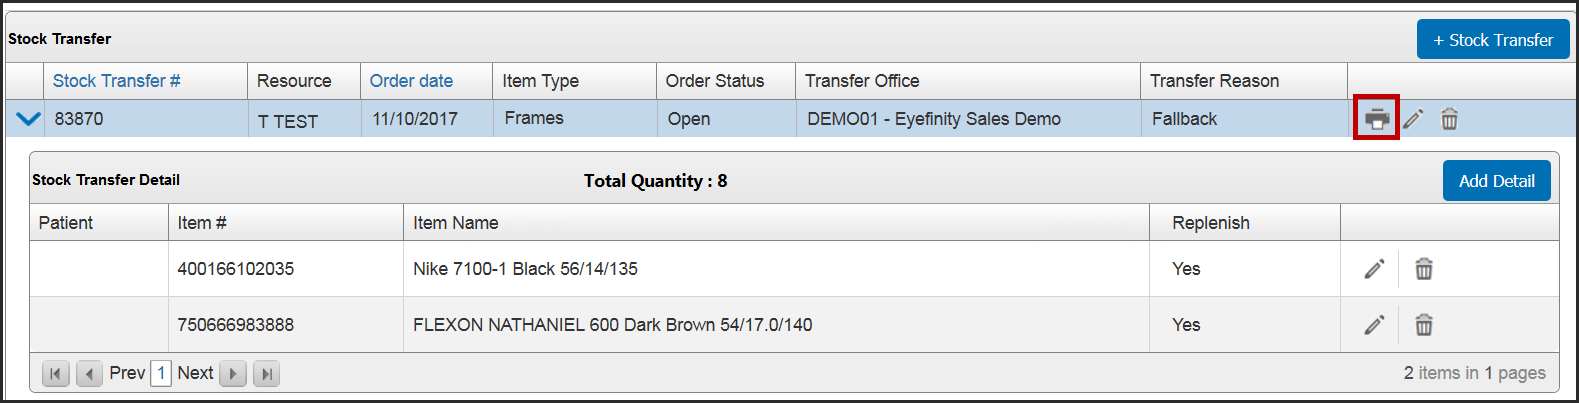
- To print the report and send the stock transfer, click OK.
Encompass changes the Order Status to Sent and updates the item’s On-Hand quantities for your office.
- To verify your stock transfers, print the Transfer Out Report, located on the Reports tab.
For more information, go to Generating the Transfer Out Report.