Using Book View in the Appointment Calendar
The Appointment Calendar's Book View displays the schedule for the selected day as a list of time slots. Each time slot is indicated with a Start Time and Resource name. Appointment start times are determined by the default exam minutes set for the resource in
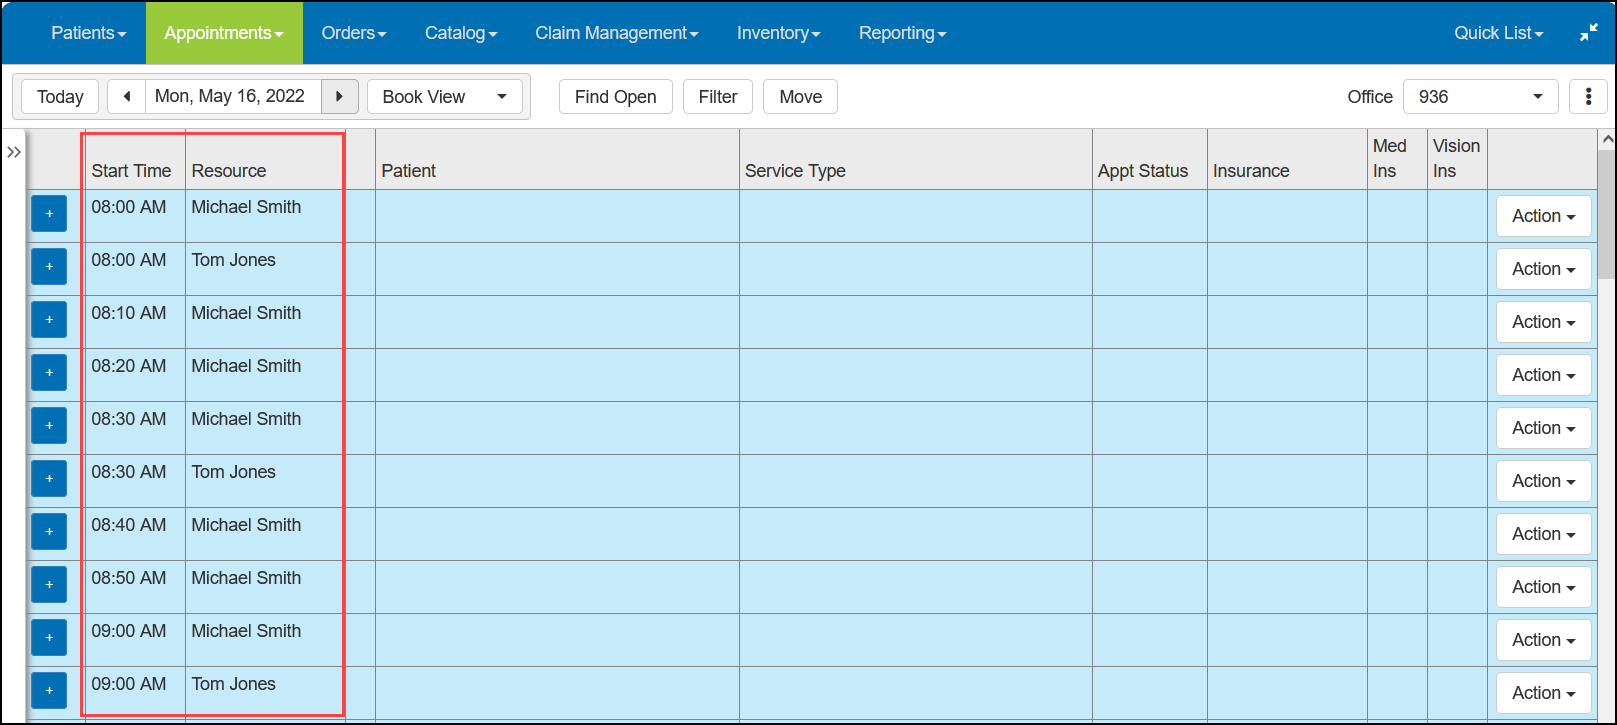
From the Book View, you can add, reschedule, confirm, and delete appointments and record patient check-ins and check-outs. You can also view and edit patient notes, print patient forms, and add calendar exceptions.
For scheduled appointments, Book View displays the Patient name, Service Type, Appointment Status, and Insurance information. You can filter the Book View to display time slots and appointments for a single Resource, Service Type, and/or Appointment Status.
Navigating Book View
-
On the top menu bar in Encompass, click Appointments and select Appointment Calendar.
The Appointment Calendar opens to the default view set by your administrator (Day View, Week View, or Book View).
-
If Book View is not already displayed, select Book from the drop-down list next to the date in the Appointment Calendar toolbar.
- If needed, click the arrow buttons to change the date, or select a date from the calendar.
- To change the resources that are shown, click the
 button and select Resource Settings.
 -
To filter appointments by Resource, Service Type and/or Appointment Status, click Filterand make selections from the drop-down lists. To remove filtering, select All from the drop-down lists.
- To print the Appointment Schedule Report, click the button and select Print Appointments.