Recalling Patients
This section includes information on adding and editing recalls for individual patients, creating scheduled recalls using the Scheduled Recall Report, and contacting patients for recall.
Before using recalls in Encompass, you need set up recall types and schedules in Administration. For more information, see Setting Up Recall Types.
If you have Eyefinity Patient Notifications enabled, patients will be automatically sent text or voice messages for recalls. For more information, see Using Eyefinity Electronic Patient Notifications
Topics include:
- Generating the Scheduled Recall Report
- Printing Mailing Labels for Recall Correspondence
- Printing Recall Letters and Postcards
- Generating the Recall by Last Exam Date Report
- Generating the Patients With No Recall Report
Adding a New Recall for a Patient
- On the top menu bar in Encompass, click Patients and select Search/Add patient.
- Enter the patient's information and click Search.
- Select the patient from the search results list.
The patient's Overview or Demographics screen opens.
- On the left side menu, under Appointments, click Recalls.
The Appointments: Recalls screen opens.
- Click + Recall.
The Add Recall window opens.
- Select the Recall Type.The Recall Type must be set up and have the Active check box selected in Administration. For more information , see Setting Up Recall Types.
The Months to Recall for the selected recall type appears automatically.
The date appears in the Next Recall field.
- To change the next recall date, click the calendar.
- Click Save.
Editing Recalls
- On the top menu bar in Encompass, click Patients and select Search/Add patient.
- Enter the patient's information and click Search.
- Select the patient from the search results list.
The patient's Overview or Demographics screen opens.
- On the left side menu, under Appointments, click Recalls.
- Click the recall you want to edit.
- Change the recall information as necessary.
- Click Save.
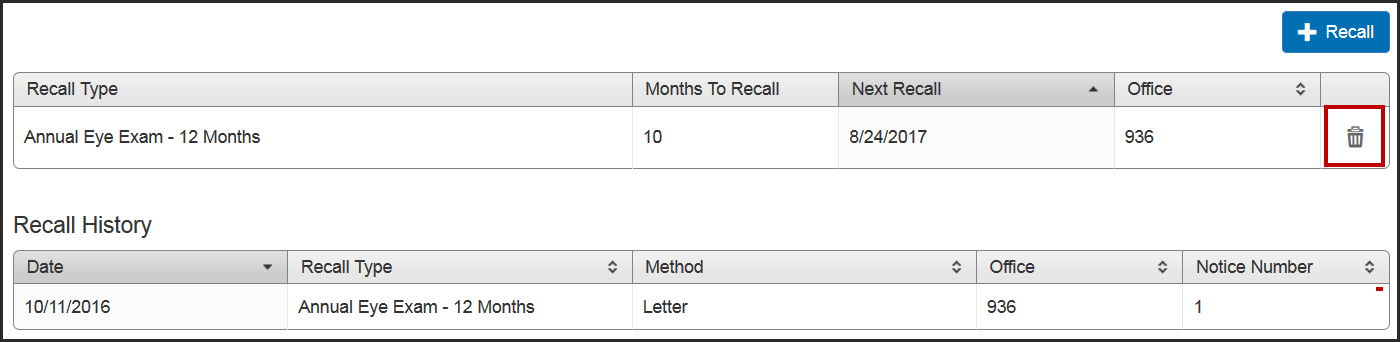
Deleting Recalls
- On the top menu bar in Encompass, click Patients and select Search/Add patient.
- Enter the patient's information and click Search.
- Select the patient from the search results list.
The patient's Overview or Demographics screen opens.
- On the left side menu, under Appointments, click Recalls.
- Locate the recall you want to delete and click the Delete Recall icon.