Eyefinity Practice Management 10.36 Release Notes
Release Date: December 7, 2021
Eyefinity announces the newest version of Eyefinity Practice Management. This updated version improves upon your system's robust attributes and offers new features and expanded functionality.
This section includes:
- Front Office Enhancements
- Administration Enhancements
- Eyefinity Patient Engagement Solutions Enhancements
- Certified Partner Telehealth Integration Enhancement
- Fixed Issues
- VSP Lab Update
Front Office Enhancements
Eyefinity Practice Management 10.36 Front Office includes enhancements to the following areas:
Insurance Updates for Responsible Parties and Dependents
You can now update insurance information for responsible parties and dependents at the same time. When you add a new insurance or deactivate an insurance for a patient who has dependents recorded in the system, a message displays, asking you if you also want to update the information for the dependents.
For more information, see Updating Dependent Insurance Information Automatically.
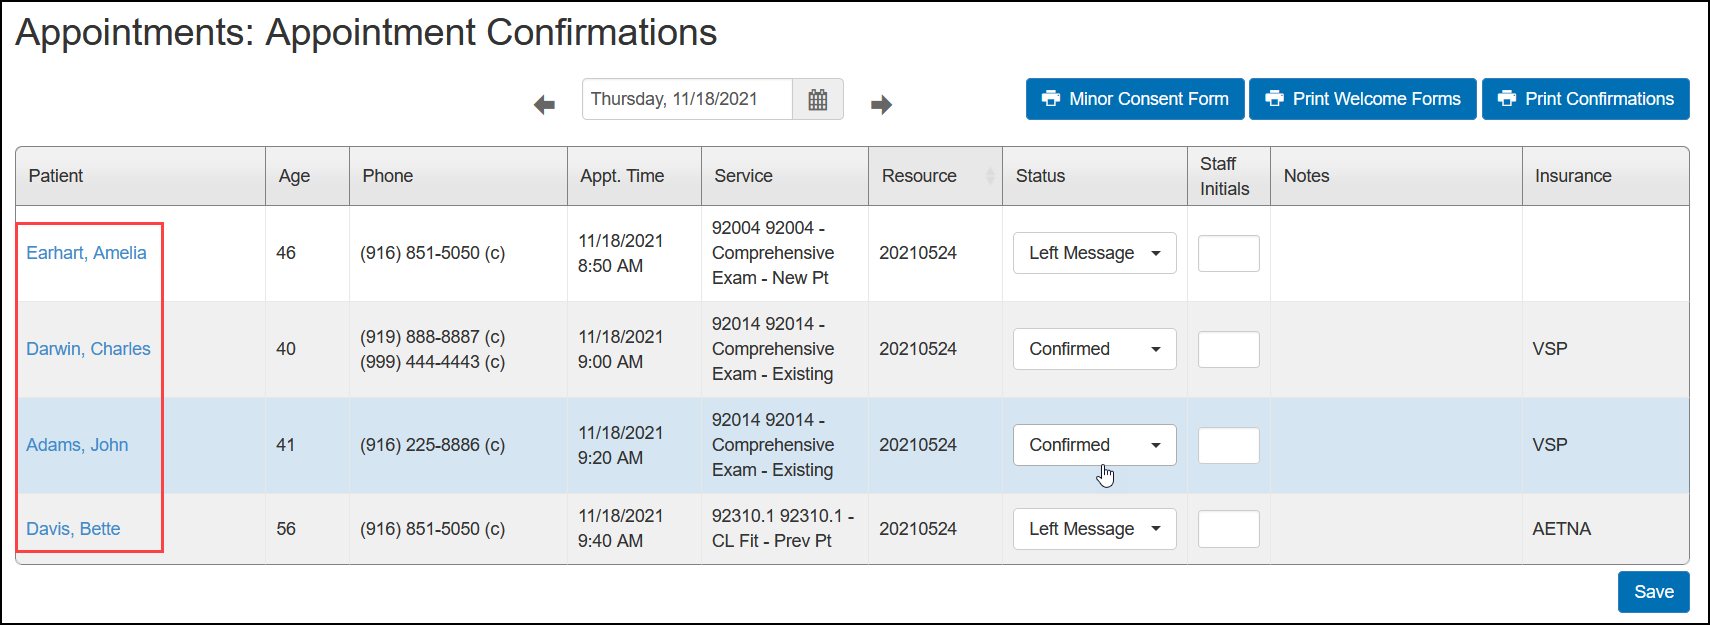
Demographic Links in Appointment Confirmations
We've updated the Appointment Confirmations screen so that you can click a patient's name to open their Demographics in a new tab.
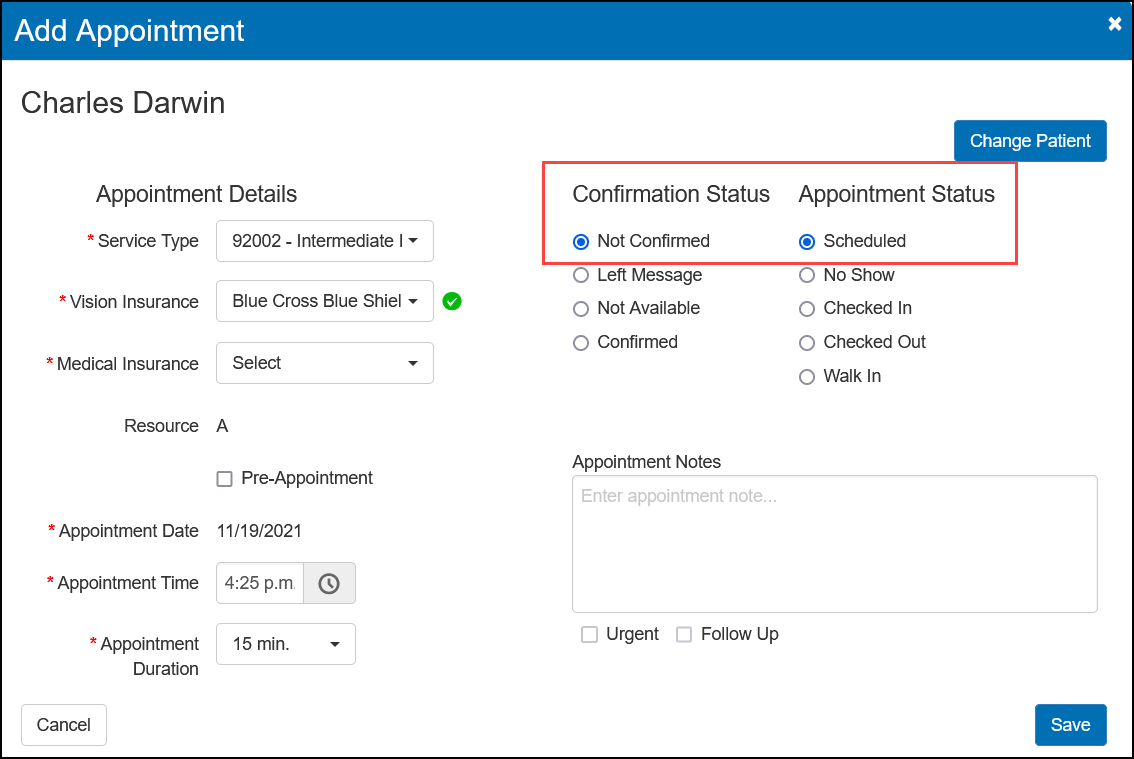
Add Appointment Status Changes
We've made the following changes to the Confirmation Status and Appointment Status options that are available when you add a new appointment. These updates make the statuses easier to understand.
-
The None option for Confirmation Status has been changed to Not Confirmed.
-
The None option for Appointment Status has been changed to Scheduled.
These updated status names also display in the Status drop-down menus in Appointment Confirmations, and the patient Appointments screen.
Appointment History in Scheduler
You can now view the patient's appointment history directly from appointments in the Scheduler.
-
Locate an appointment in the Scheduler and double-click it to open.
-
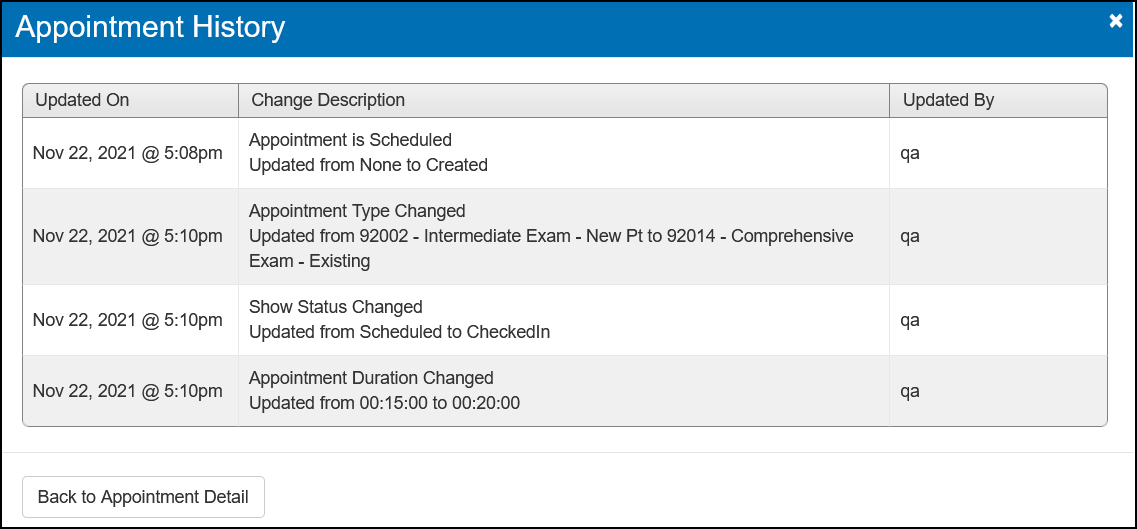
Click the View History link.
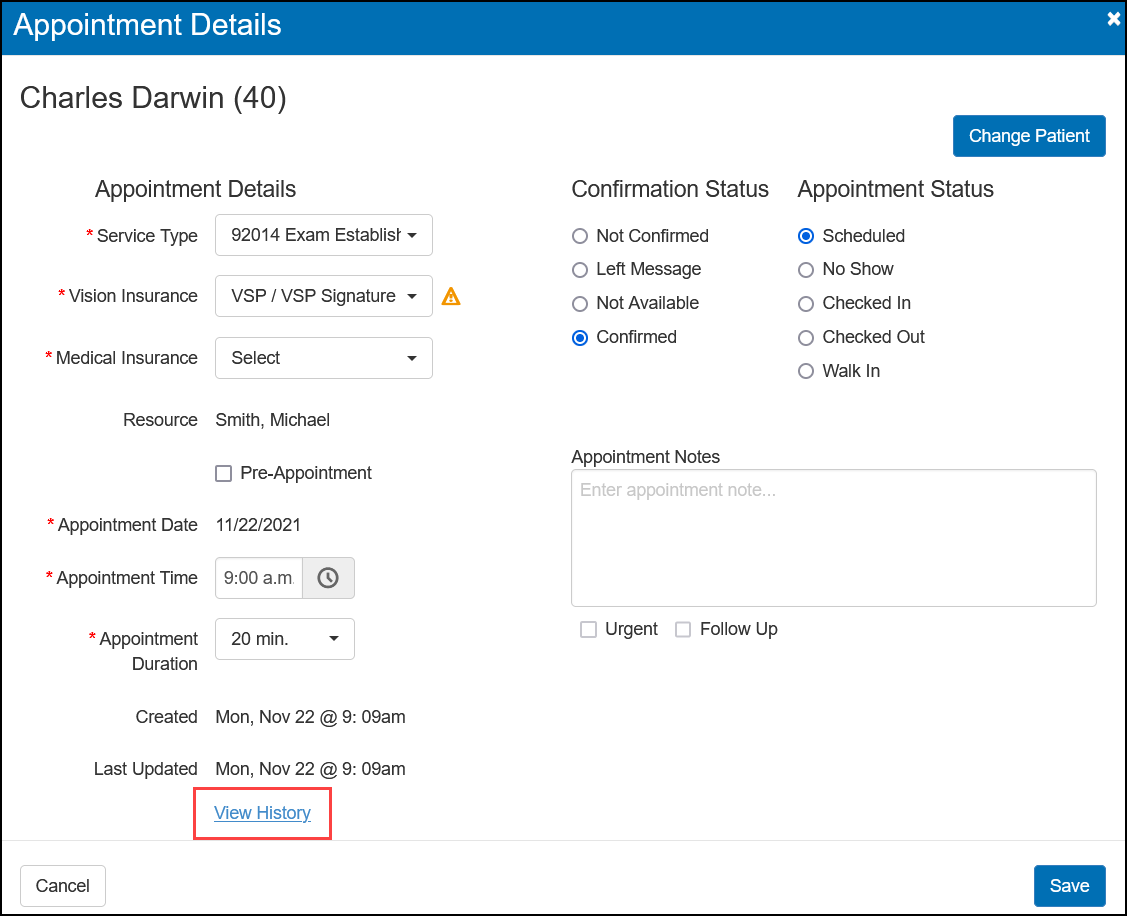
The Appointment History window opens.
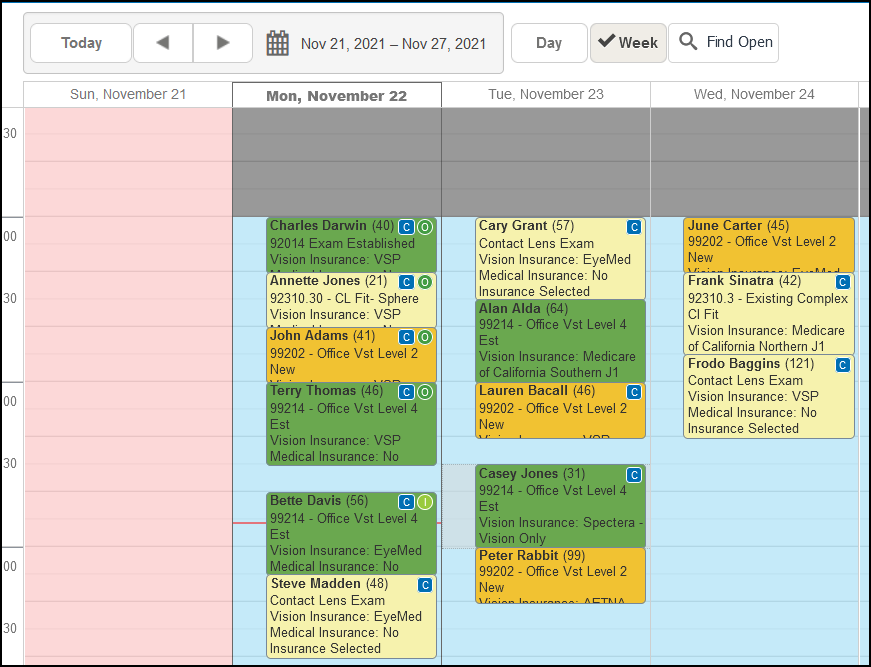
Scheduler Current Day Improvement
We've updated the way the Scheduler indicates the current day in the Week view. Today's schedule is now outlined with a black border and the date heading displays in bold text.
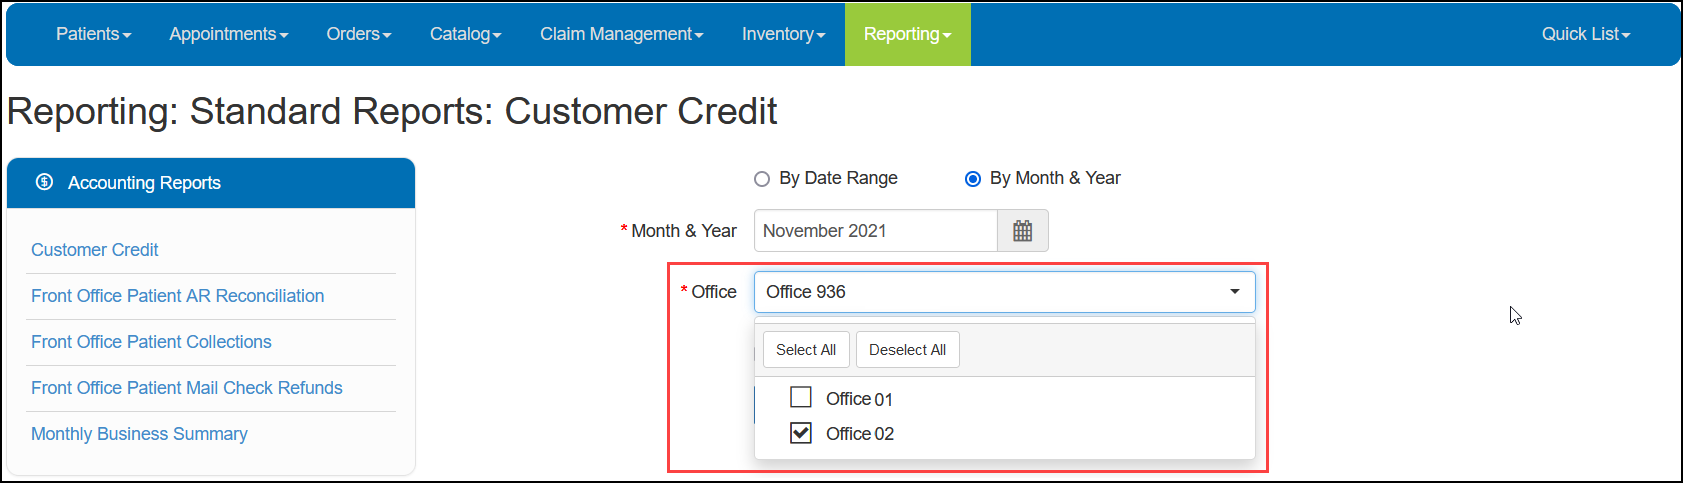
Office Default for Reports
The Accounting Reports, Sales Reports, and Marketing Reports now default to include information only for the office you're logged into. You can still select other offices in the Office drop-down list when generating each report, if you have permissions to do so.
VSP Orders with High Add Power
The system now automatically adds one of the following miscellaneous extras to VSP eyeglass orders where the prescription includes an add power greater than +3.25 diopters:
-
BF Add Power Over 3.25d
-
Progressive Add Power Over 3.25d
-
TF Add Power Over 3.25d
This update helps prevent VSP claims from going on hold due to a missing charge for high add power.
Daily Transaction Sales Report Update
You can run the Daily Transaction Sales Report for a day without first completing Daily Closing. This update enables you to review the report while the day is still open and ensure your Daily Closing figures are correct. The contents and format of the report itself haven't changed.
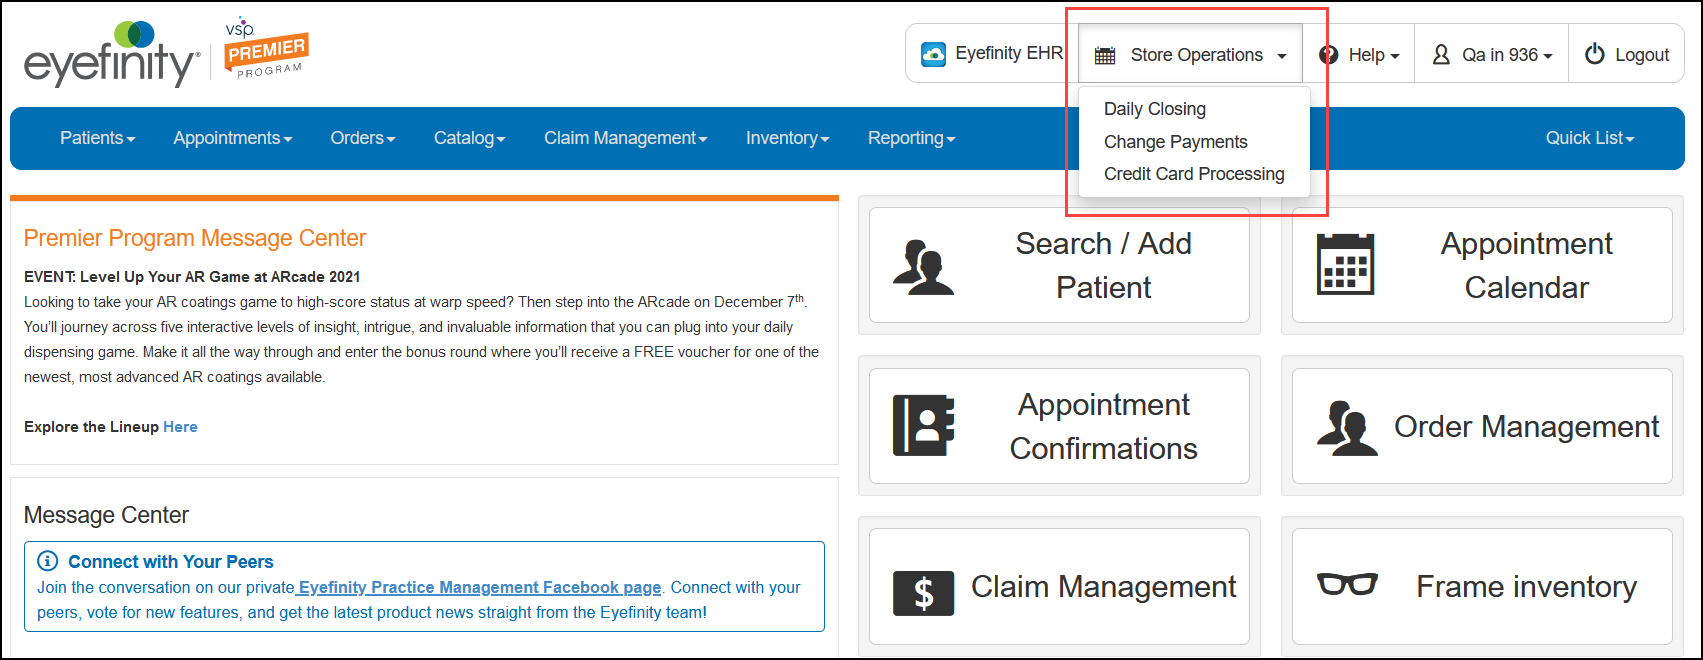
Store Operations Menu and Credit Card Processing Setup in Front Office
We've added the ability to access the Worldpay credit card processing integration setup screen from Front Office. As part of this update, the Daily Closing menu has been renamed Store Operations and a new Credit Card Processing option has been added to it. The Daily Closing and Change Payments options on the menu haven't changed. See Activating the Worldpay Integration for instructions on how to set up the integration and devices.
Administration Enhancements
Eyefinity Practice Management 10.36 Administration includes enhancements to the following areas:
Provider Taxonomy Codes
You can now enter a billing taxonomy code for each carrier when setting up a provider's insurance details. The code will automatically be added to Box 33b on claims to the carrier.
- From the menu, select Resources and select Provider Setup.
- Locate the provider in the list, and click Insurance Details.
The Insurance Details window opens.
- Locate the carrier in the list. If you need to add a new carrier, click + Add.
- Enter the Provider Taxonomy code.

- Complete the rest of the information for the carrier and click Save.
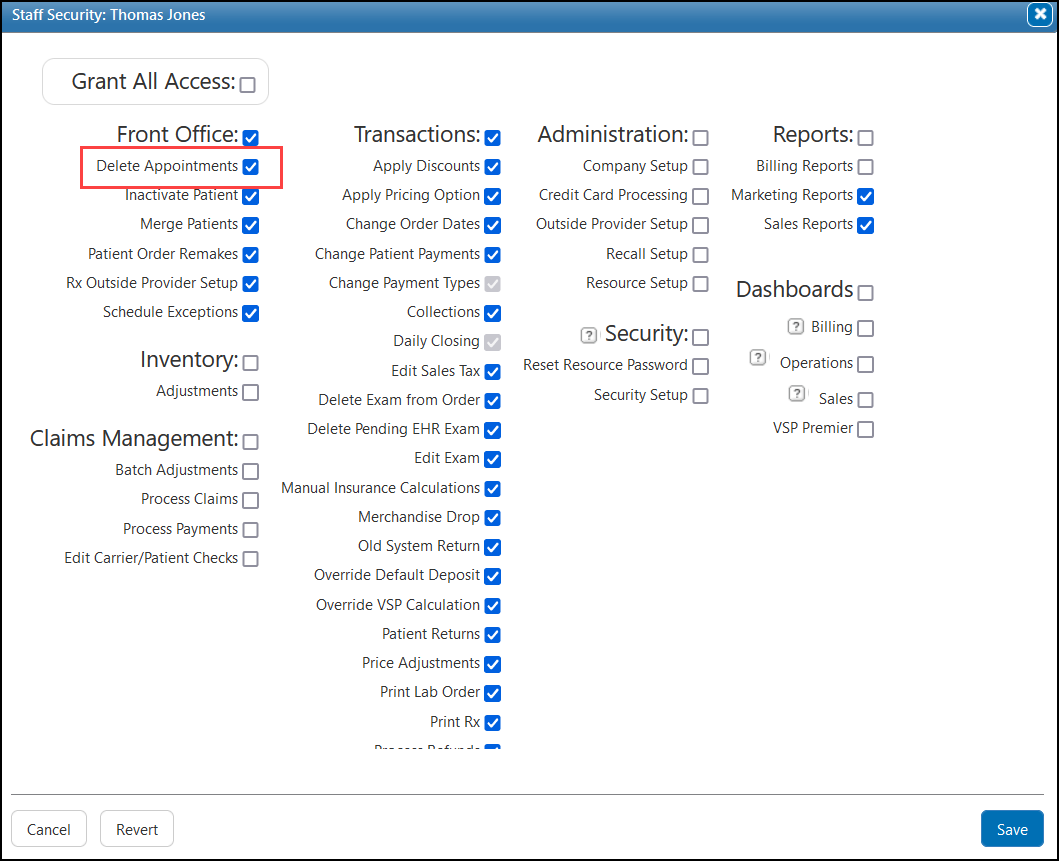
Delete Appointments Security Permission Setting
A new Delete Appointments security permission check box has been added to Provider Setup and Staff Setup. Selecting this check box enables the provider or staff member to delete appointments from the Scheduler. For more information, see Deleting Appointments in Day or Week View.
- The Delete Appointments security permission check box is selected for all providers and staff by default. If there are providers or staff members in your practice who should not have this security permission, go to Provider Setup or Staff Setup and deselect the check box.
- If a provider or staff member does not have the security permission, an Override window displays when they attempt to delete an appointment. Another user with permission can to enter their username and password in the Override window and allow temporary access.
Credit Card Processing Security Permission Setting
A new Credit Card Processing security permission check box has been added to Provider Setup and Staff Setup. Selecting this check box enables the provider or staff member to set up the Worldpay credit card processing integration.

Eyefinity Patient Engagement Solutions Enhancements
We've made the following updates to our Eyefinity Integrated Online Scheduler and Forms and Patient Notifications. See Using Eyefinity Patient Engagement Solutions for complete information on how to set up and use the scheduler, forms, and notifications.
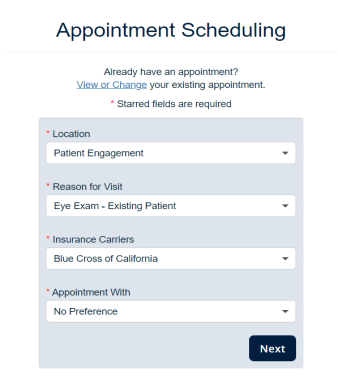
Improved Online Scheduler Screens
The Online Scheduler has an updated look based on the ability to schedule staff appointments and new Reasons for Visit options now available.
Staff Online Scheduling Setup
We've added the ability to set up staff to allow online scheduling, enabling patients to use your online scheduler to schedule an appointment with staff for items such as eyewear pick up or repair. If you opt to enable staff online appointments, for each staff member you want available in the online scheduler, you must:
- Select the Active and Online Schedule check boxes (in Administration). All resources must have the same Default Exam Minutes. See Editing Resources.
- Set up a schedule. Staff schedules are set up in Administration. See Setting Up Resource Schedules.
Online Scheduler Reasons for Visit
You now have more options to select from to display in the Reason for Visit drop-down; including reasons commonly associated with a staff appointment (for example: Eyewear Pick-up).
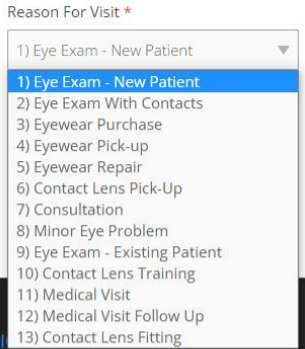
You can select up to eight options. These options must be mapped to a CPT code.
Default codes include:
-
92004: Comprehensive Exam – New
-
92014: Comprehensive Exam – Existing
-
92310: New Contact Lens Fit
-
99203: Office Vst Level 3 New
Patient Hold Lock
Are you using Patient Hold? Wondering what is Patient Hold?
Patient Hold allows a patient to create an appointment when the system is unable to find their patient record. When scheduling the appointment, the system indicates the patient record cannot be found and asks if they are a new patient.
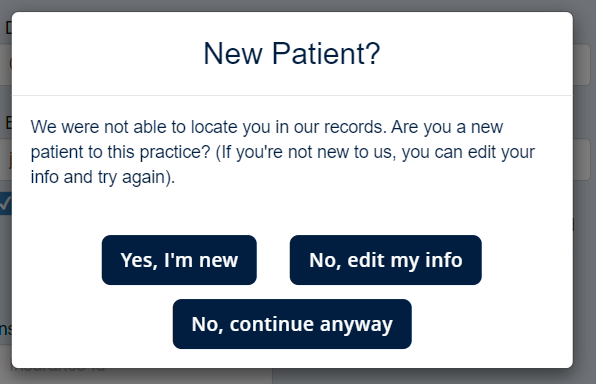
If the patient answers No, continue anyway, a placeholder appointment is created in Eyefinity Practice Management using the patient name “PatientHold SeeAppointmentNotes.” All the appointment information, including the patient’s actual name, is listed in the appointment notes.
You then need to locate these appointments and use the notes to enter the appointment correctly. Your practice receives an email whenever a patient selects No, continue anyway. Check your email inbox often so you can search the scheduler for the “PatientHold See AppointmentNotes” patient and enter the correct appointment information.
The PatientHold See AppointmentNotes patient record can now be locked to prevent accidental changes to this record.
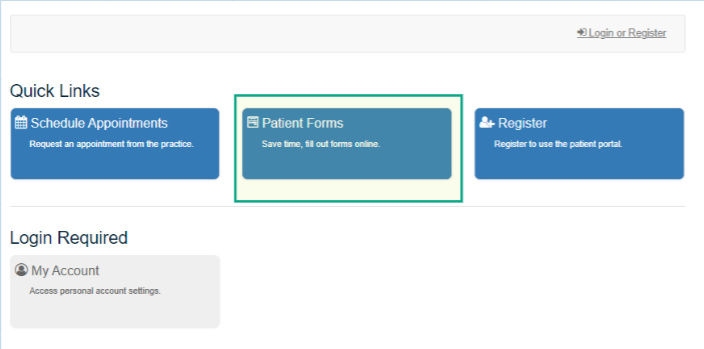
No Login Required for Online Forms
Patients can now complete patient forms without a portal account. The Patient Forms link is now available under Quick Links.
The patient enters their Patient Information—name, ZIP code, and date of birth—and then clicks Next. The system searches for their patient record. If the patient is not found in the system, the following message displays: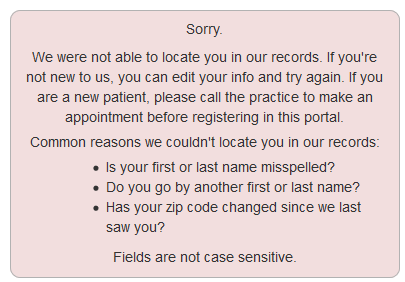
The patient can either call or they can register for a portal account. If the patient record is found, the patient continues to the form to complete and submit.
Message Configuration for Patient Notifications
Additional message configuration options are now available for Patient Notifications. For Appointment Reminders, Patient Recalls, and Eyewear Ready notifications, more greeting, purpose, when, and optional text options are available. Contact Eyefinity Customer Care at epmsupport@eyefinity.com for assistance in configuring your messages.
Certified Partner Telehealth Integration Enhancement
If your practice has Eyefinity’s certified partner telehealth integration enabled, the integration can now import information from contracted outside providers who don't have access to your Eyefinity Practice Management system. The contracted doctor must use the same telehealth application your practice has enabled.
The following information is transmitted from the contract doctor to your Eyefinity Practice Management system through your certified partner telehealth integration:
-
The contract doctor's provider information
-
Exam information, including CPT and ICD-10 codes
-
Eyeglass prescriptions
-
Contact lens prescriptions
Contact lens prescriptions come over as incomplete because the certified partners don't use our ABB catalog. You'll need to access the prescriptions and fill in any missing information before processing orders.
For more information on the certified partner telehealth integration, see Setting Up and Using Certified Partner Telehealth Integrations with Encompass. For more information on using the integration together with Eyefinity EHR, see Understanding the Contracted Telehealth Provider Exam Workflow.
Fixed Issues
Eyefinity Practice Management 10.36 includes fixed issues in the following areas:
Front Office
-
Promise Date now prints correctly on patient invoices.
-
The Plan ID field in the Plan Details panel on the Insurance Plan Lookup screen now displays the correct information.
-
VSP estimated charges now display correctly in the Build Order screens.
-
A problem with using the Item # field to search for frames in Material Orders, Inventory, and Administration has been corrected.
-
Errors no longer occur when accessing the VSP Premier Dashboard.
-
VSP authorizations obtained by calling VSP are now correctly pulled in to Eyefinity Practice Management. Previously, these authorizations would go directly into the authorization history and show that no benefits were available.
Claim Management
-
The system now automatically updates lowercase letters to uppercase letters in the Diagnosis Pointer field in the claim editing screen.
-
Comments now print correctly on patient letters.
New VSP Interface
About the New VSP Interface: VSP is modernizing ordering and claims submission platforms to implement system best practices, enhance security, and create greater efficiencies for practices. As part of these efforts, we've started rolling out a new VSP interface in Eyefinity Practice Management for in-network providers, beginning in February 2021 with select practices.
If you have questions about the status of your practice, contact Eyefinity Customer Care at epmsupport@eyefinity.com.
-
An issue with duplicate electronic lab orders has been corrected.
VSP Lab Update
VSP recently closed the VSPOne San Diego lab. This lab has been removed from Eyefinity Practice Management. We recommend submitting orders to VSPOne Sacramento instead.